
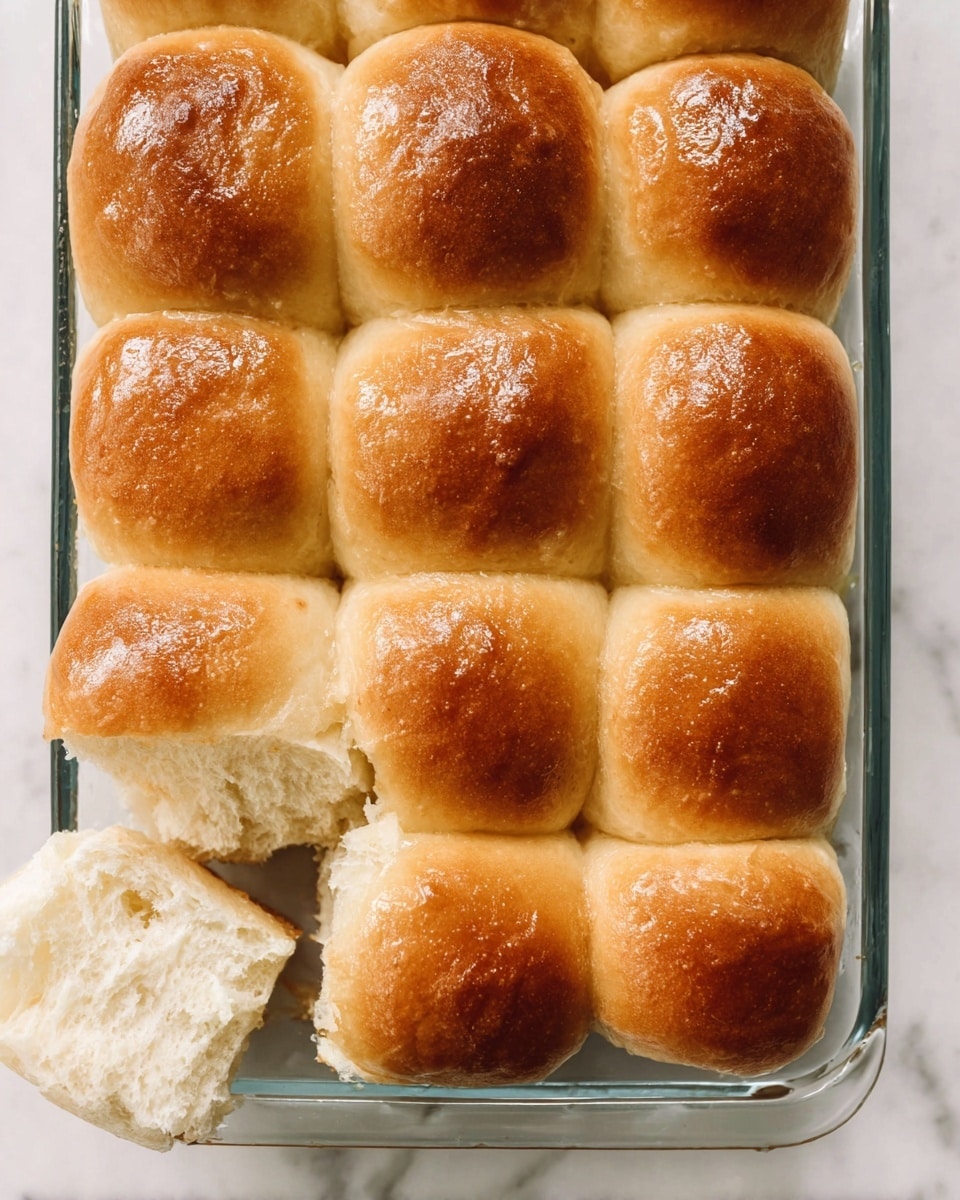
If you’re on the hunt for the perfect, pillowy-soft bread to complement every meal, I have just the thing for you. This Soft Dinner Rolls Recipe is truly one of my favorite kitchen wins, delivering rolls that are tender on the inside, lightly golden on the outside, and downright irresistibly fluffy. Whether you’re serving family dinners or looking to impress guests, these rolls come out beautiful every single time — and they’re easier to make than you might think. Stick with me, and I’ll share everything you need to nail these soft dinner rolls with confidence.
Why You’ll Love This Recipe
- Incredibly Soft Texture: Thanks to a combination of warm milk, butter, and a careful kneading process, these rolls come out tender and fluffy every time.
- Straightforward Ingredients: You probably already have everything in your pantry, no fancy additions required.
- Versatile & Crowd-Pleasing: Perfect for weeknight dinners, holiday feasts, or anytime you want a trusty bread side.
- Step-by-Step Guidance: I’ll walk you through tips and tricks I’ve learned so you can avoid common pitfalls.

Ingredients You’ll Need
The magic of this Soft Dinner Rolls Recipe lies in its simplicity. Each ingredient plays a special role – the yeast breathes life into the dough, milk and butter keep it rich and tender, while just the right amount of sugar feeds the yeast for that beautiful rise. Here’s what you’ll want to have on hand.
- Whole milk: Warming it to about 110°F wakes up the yeast perfectly without killing it.
- Instant yeast: I prefer Red Star’s Platinum yeast – it works reliably and rises nicely.
- Sugar: Divided use helps balance flavor and yeast activation.
- Large egg: Adds richness and structure to the dough.
- Unsalted butter: Softened but cool to help tenderize the crumb and add flavor.
- Salt: Essential for enhancing flavor without overpowering.
- All-purpose or bread flour: Either works well here; bread flour adds a little extra chewiness.
- Optional honey butter topping: A simple mix of melted butter and honey for brushing on fresh rolls—adds a glossy, sweet finish.
Variations
I love how this Soft Dinner Rolls Recipe can be tweaked to suit different moods or dietary needs—feel free to get creative! I’ve played around with a few versions and it’s always a hit whether I keep it classic or jazz it up.
- Herb-Infused Rolls: Adding fresh rosemary or thyme to the dough makes the rolls extra fragrant, and my family goes crazy for them during Sunday dinners.
- Whole Wheat Swap: You can replace half the all-purpose flour with whole wheat for a nuttier flavor and heartier texture without losing softness.
- Dairy-Free Adaptation: Substitute the milk with almond or oat milk and replace butter with a vegan spread; just be mindful the texture might change slightly.
- Honey Glaze: Besides the optional butter-honey topping, brushing warm rolls with straight honey right after baking adds a lovely shine and sweet aroma.
How to Make Soft Dinner Rolls Recipe
Step 1: Wake Up the Yeast
Start by whisking warm milk, yeast, and half the sugar together in your stand mixer bowl or a large mixing bowl if you don’t have one. Cover it and let it sit for about 5 minutes. You’ll notice it gets a little foamy—that’s how you know your yeast is happy and alive. If you skip this, your rolls might not rise as beautifully, so don’t rush it!
Step 2: Mix in the Rest of Your Ingredients
Now add the rest: remaining sugar, egg, softened butter, salt, and one cup of flour. Mix on low speed for about 30 seconds, then scrape down the bowl to keep everything even. Add the remaining flour and beat on medium until the dough leaves the bowl’s sides, about 2 minutes. The dough will still be a little sticky but manageable – if it feels too wet, sprinkle flour a tablespoon at a time. This ensures your rolls don’t come out dry but still soft.
Step 3: Knead Until Perfectly Smooth
Knead the dough either by beating for 5 more minutes in your mixer or by hand on a lightly floured surface. I remember my first time hand-kneading—I was surprised how therapeutic it was! If the dough sticks too much, just flour lightly; too much flour dries it out, so be gentle. To check if it’s ready, poke it lightly: it should bounce back slowly. You can also try the “windowpane test”: stretch a small piece of dough thinly to see if light passes through without tearing.
Step 4: First Rise—Patience is Key
Place your kneaded dough in a lightly greased bowl, cover with foil or a kitchen towel, and let it rise in a warm spot for 1-2 hours until doubled. I usually let mine sit on the countertop—no fancy proofing box needed. If your kitchen is cold, near a warm appliance or inside an oven with just the light on works wonders.
Step 5: Shape Your Rolls
Once your dough has puffed up nicely, gently punch it down to let out the air (don’t skip this; it helps create that tender crumb structure). Divide into 14 to 16 equal pieces—don’t stress about exact measurements, just eyeball it. Shape each piece into a smooth ball by tucking the edges under and rolling gently between your palms. Place them snugly into a greased baking pan. I love using a glass 9×13 pan because I find it helps bake more evenly and prevents the tops from browning too fast.
Step 6: Second Rise—Get Puffy Again
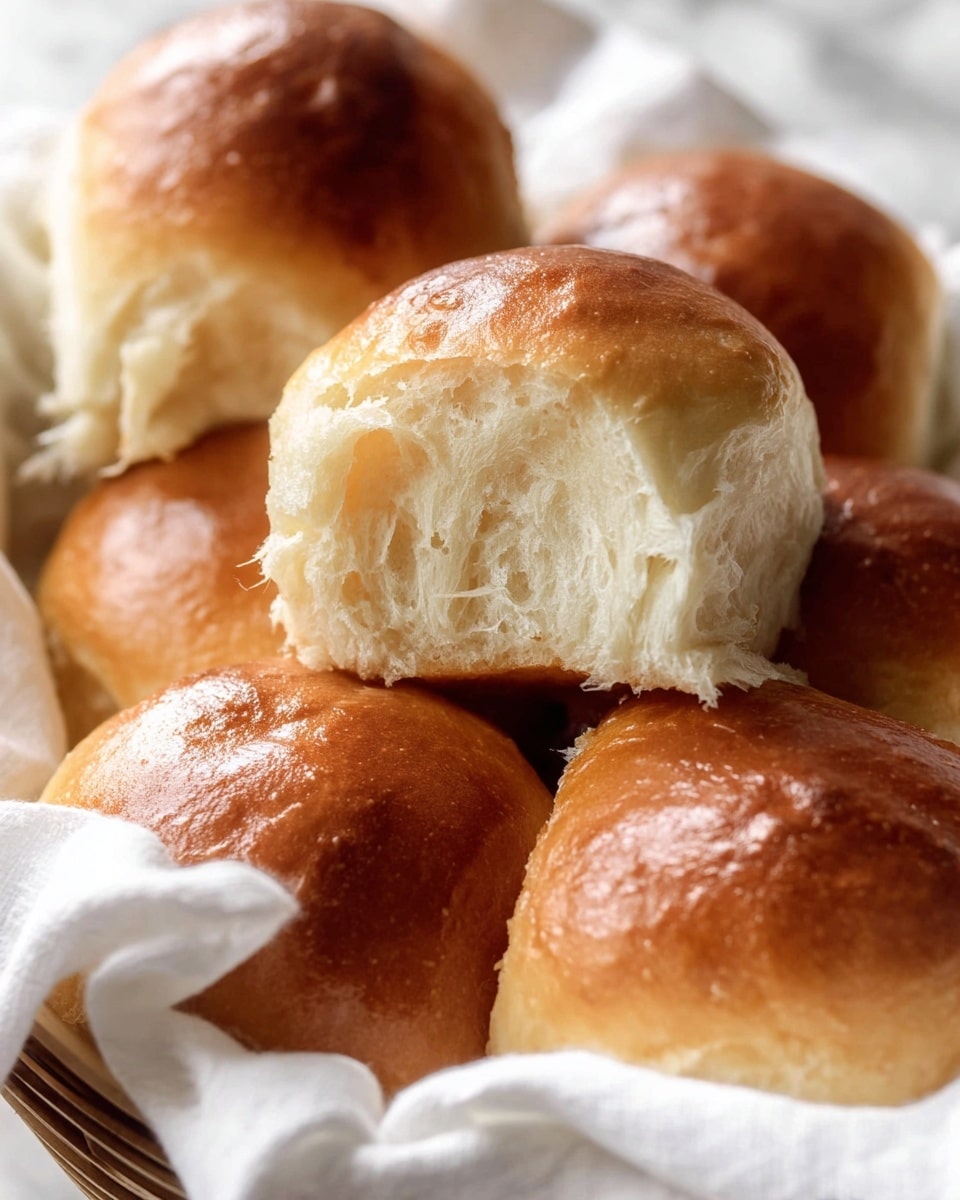
Cover your shaped rolls and let them rise for about an hour until puffy. This second rise really gives the rolls that soft, pillowy texture. It’s such a joy to peek in and see them doubled and ready to bake.
Step 7: Bake to Golden Perfection
Preheat your oven to 350°F (177°C), placing the rack lower to avoid overly browning the tops. Bake for 20-25 minutes, rotating halfway through, until golden brown. If the rolls seem to be browning too fast, loosely tent with foil. As soon as they come out, brush with the optional honey butter topping for a glossy, sweet finish that’s just irresistible.
Pro Tips for Making Soft Dinner Rolls Recipe
- Don’t Rush the Rise: Adequate rising time really makes the difference between dense rolls and fluffy, tender ones.
- Temperature Matters: Keep milk warm but not hot—too hot kills yeast, and too cool slows rising.
- Manage Sticky Dough With Flour: Lightly flour your hands instead of adding a lot to the dough to keep rolls soft and moist.
- Cover Closely During Rising: Prevents a dry skin forming on the dough which can interfere with expansion.
How to Serve Soft Dinner Rolls Recipe
Garnishes
I love brushing my freshly baked rolls with a honey-butter glaze—it gives them that golden shine and a hint of sweetness that makes everyone reach for seconds. For a savory twist, I sometimes sprinkle a little flaky sea salt or fresh herbs on top right after brushing with butter. It adds a lovely finishing touch and some texture contrast.
Side Dishes
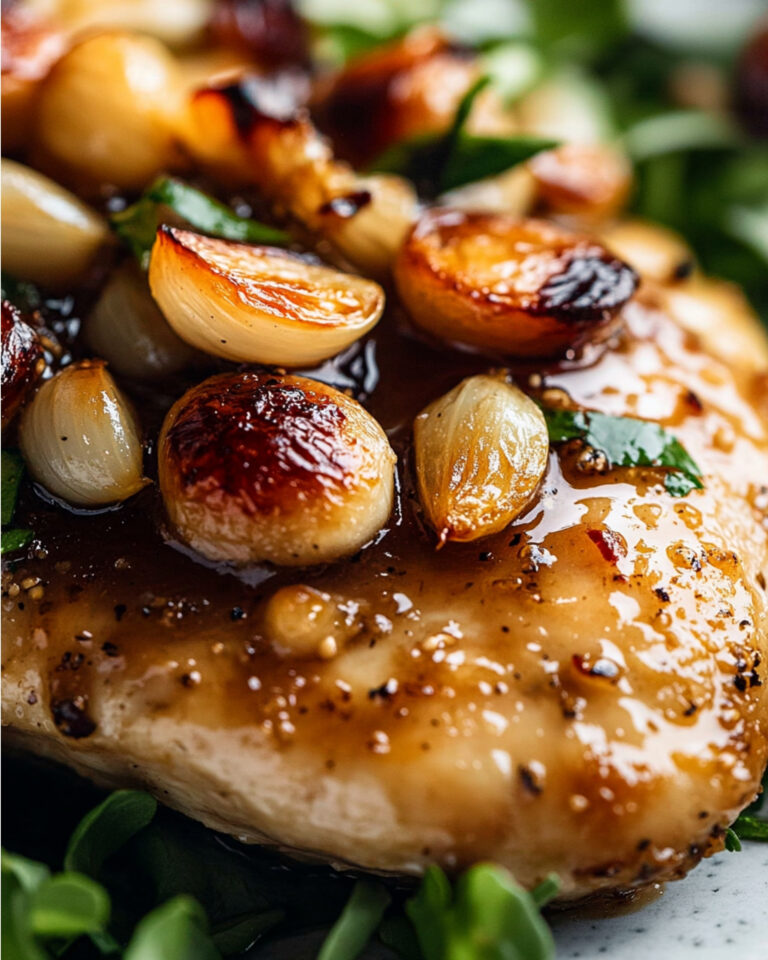
These soft dinner rolls are a match made in heaven with almost any meal. I pair them often with hearty soups (like creamy tomato or chicken noodle), roasted vegetables, or slow-cooked meats. Their neutral flavor also means you can enjoy them slathered with butter or use them for mini sandwiches.
Creative Ways to Present
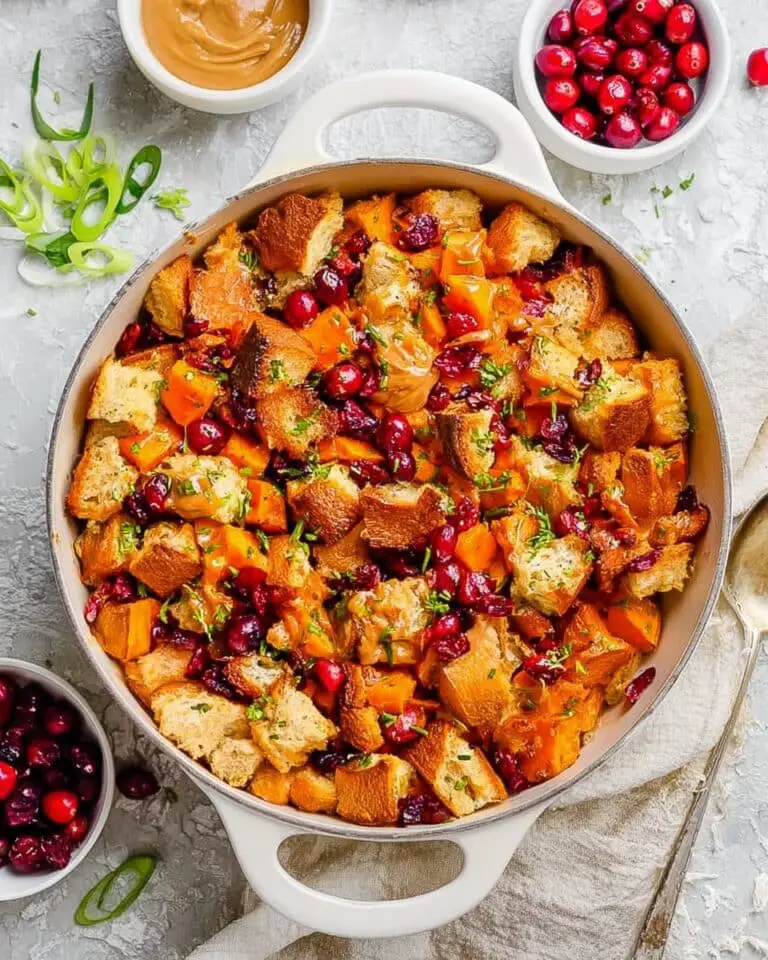
For holiday dinners, I’ve arranged these rolls in a wreath shape on a round baking dish, then decorated the center with fresh rosemary sprigs and cranberries. Another fun idea is serving them warm in a basket lined with a colorful kitchen towel alongside a trio of flavored butters—think garlic herb, honey cinnamon, and lemon chive. Your guests will love digging in!
Make Ahead and Storage
Storing Leftovers
Store these soft dinner rolls in an airtight container or wrapped tightly in plastic wrap at room temperature. I’ve found they stay soft and fresh for 2-3 days this way. If your kitchen is warm, a cool spot is best to avoid speeding up staling or molding.
Freezing
I often prepare these rolls ahead by shaping the dough, placing the shaped balls on a baking sheet or greased pan, and freezing them uncovered until firm. Then I store them in a freezer bag for up to 3 months. On baking day, I thaw and let them rise fully before baking—easy peasy! You can also freeze fully baked rolls after cooling completely and reheat when needed.
Reheating
To bring frozen or leftover rolls back to life, I like reheating them in a warm oven—about 300°F for 10 minutes wrapped in foil to keep moisture in works great. You could also pop them in the microwave wrapped in a damp paper towel for 15-20 seconds if you’re in a hurry, but oven reheating really maintains that fresh-baked texture.
FAQs
-
Can I make these soft dinner rolls without a stand mixer?
Absolutely! While a stand mixer makes kneading easier, you can mix and knead this dough by hand using a large wooden spoon or silicone spatula in a big bowl, followed by kneading on a lightly floured surface for about 5-8 minutes. It requires a bit more arm work but is perfectly doable and yields great results.
-
What’s the best flour to use for soft dinner rolls?
You can use either all-purpose or bread flour. I usually default to all-purpose for convenience, but bread flour adds a slightly chewier texture. Both produce soft and fluffy rolls, so use what you have on hand without stress.
-
How can I tell if my dough has been kneaded enough?
Besides feeling smooth and elastic, use the windowpane test: stretch a small piece of dough thin until almost see-through without tearing. If it passes, your dough is ready; if it tears quickly, knead a bit longer.
-
Can I prepare the dough the night before?
Yes! After shaping, cover the rolls tightly and refrigerate overnight (up to 15 hours). Take them out a few hours before baking to allow them to come to room temperature and rise again. This makes morning or dinner preparation much easier.
-
Why are my rolls dense instead of soft?
Dense rolls usually mean under-kneaded dough or insufficient rising time. Make sure to knead until smooth and elastic, and let the dough rise in a warm spot long enough to double in size. Also, avoid adding too much flour—sticky dough is okay, but dry dough will toughen your rolls.
Final Thoughts
Honestly, I absolutely love how these soft dinner rolls turn out every time—a comforting success in my kitchen that always makes me smile. Whether it’s a holiday meal or a simple weeknight side, you’ll find that once you try this recipe, it quickly becomes a go-to. It’s so satisfying to pull warm, fluffy rolls fresh from the oven and share them with friends and family. I can’t wait for you to experience that too—give this Soft Dinner Rolls Recipe a try and make your next meal sparkle just a little bit more with homemade deliciousness!
Print
Soft Dinner Rolls Recipe
- Prep Time: 3 hours 25 minutes
- Cook Time: 22 minutes
- Total Time: 3 hours 47 minutes
- Yield: 14-16 rolls
- Category: Bread
- Method: Baking
- Cuisine: American
Description
These soft dinner rolls are fluffy, tender, and lightly golden, perfect for any meal or holiday table. Made with simple pantry ingredients including warm milk, instant yeast, butter, and flour, these homemade rolls offer a comforting texture with a slightly sweet honey butter glaze. The dough is easy to prepare using a stand mixer or by hand, with two rises ensuring the rolls are perfectly airy before baking in the oven. Enjoy warm, fresh-baked rolls with butter or as a side to soups, stews, and roasts.
Ingredients
Dough
- 1 cup (240ml) whole milk, warmed to about 110°F (43°C)
- 2 and 1/4 teaspoons Platinum Yeast from Red Star instant yeast (1 standard packet)
- 2 Tablespoons granulated sugar, divided
- 1 large egg
- 1/4 cup (4 Tbsp; 56g) unsalted butter, softened to room temperature and cut into 4 pieces
- 1 teaspoon salt
- 3 cups (390g) all-purpose flour or bread flour (spooned & leveled)
Optional Topping
- 2 Tablespoons (28g) melted unsalted butter
- 1 Tablespoon honey
Instructions
- Prepare the dough: In the bowl of your stand mixer, whisk together warm milk, instant yeast, and 1 tablespoon of sugar. Cover and let sit for 5 minutes to activate the yeast. If you don’t have a mixer, combine in a mixing bowl and stir with a wooden spoon.
- Mix the dough: Add the remaining tablespoon of sugar, egg, softened butter, salt, and 1 cup of flour to the yeast mixture. Using a dough hook or paddle attachment, mix on low speed for 30 seconds, then scrape down the bowl. Add the remaining flour and beat on medium speed until the dough comes together and slightly pulls away from the bowl sides, about 2 minutes. If too wet, add flour 1 tablespoon at a time until manageable but still slightly sticky.
- Knead the dough: Continue kneading in the mixer for 5 more minutes or knead by hand on a lightly floured surface for 5 minutes. Add small amounts of flour as needed to keep the dough soft and slightly tacky, avoiding dryness. Perform the windowpane test by gently stretching a small piece of dough to see if light passes without tearing, indicating proper kneading.
- First rise: Lightly grease a large bowl and place the dough inside, turning to coat in oil. Cover with foil, plastic wrap, or a kitchen towel. Let the dough rise in a warm area for 1-2 hours or until doubled in size.
- Prepare baking pans: Grease a 9×13 inch baking pan or two 9-inch pans. Optionally, a cast iron skillet or lined baking sheet can be used.
- Shape the rolls: Punch down the risen dough to release air. Divide into 14-16 equal pieces. Shape each piece into a smooth ball and arrange them spaced evenly in the prepared pan.
- Second rise: Cover the shaped rolls and let rise until puffy, about 1 hour.
- Preheat oven: Position the oven rack low and preheat oven to 350°F (177°C) to ensure even baking and prevent overbrowning of tops.
- Bake the rolls: Bake rolls for 20-25 minutes until golden brown, rotating pan halfway through baking. Tent with foil if tops brown too quickly. Remove from oven.
- Apply topping: Brush hot rolls with a mixture of melted butter and honey, if using, then cool slightly before serving.
- Store leftovers: Keep rolls tightly covered at room temperature for 2-3 days or refrigerate for up to 1 week.
Notes
- Freezing Instructions: Prepare dough through the shaping step. Place shaped rolls in a greased pan, cover tightly, and freeze up to 3 months. Thaw and allow to rise for 4-5 hours before baking. You can also freeze baked rolls for up to 3 months; thaw and reheat at 300°F (149°C) for about 10 minutes.
- Overnight Instructions: After shaping, cover rolls tightly and refrigerate up to 15 hours. Remove 3 hours before baking for counter rise. Alternatively, perform the first rise in the fridge overnight, then remove and allow 2 hours at room temperature before shaping and baking.
- Baking Pan Preference: Glass 9×13 inch pans yield more even browning compared to metal. Baking on a lower oven rack helps prevent burning tops.
- Yeast Options: Platinum Yeast from Red Star is used here as instant yeast. Active dry yeast can be substituted but may require longer rise times.
- Flour Choice: Both all-purpose and bread flour work. Bread flour results in chewier texture; all-purpose creates soft, fluffy rolls. No other recipe adjustments needed.
Nutrition
- Serving Size: 1 roll
- Calories: 150
- Sugar: 3g
- Sodium: 180mg
- Fat: 5g
- Saturated Fat: 3g
- Unsaturated Fat: 2g
- Trans Fat: 0g
- Carbohydrates: 22g
- Fiber: 1g
- Protein: 4g
- Cholesterol: 35mg


