
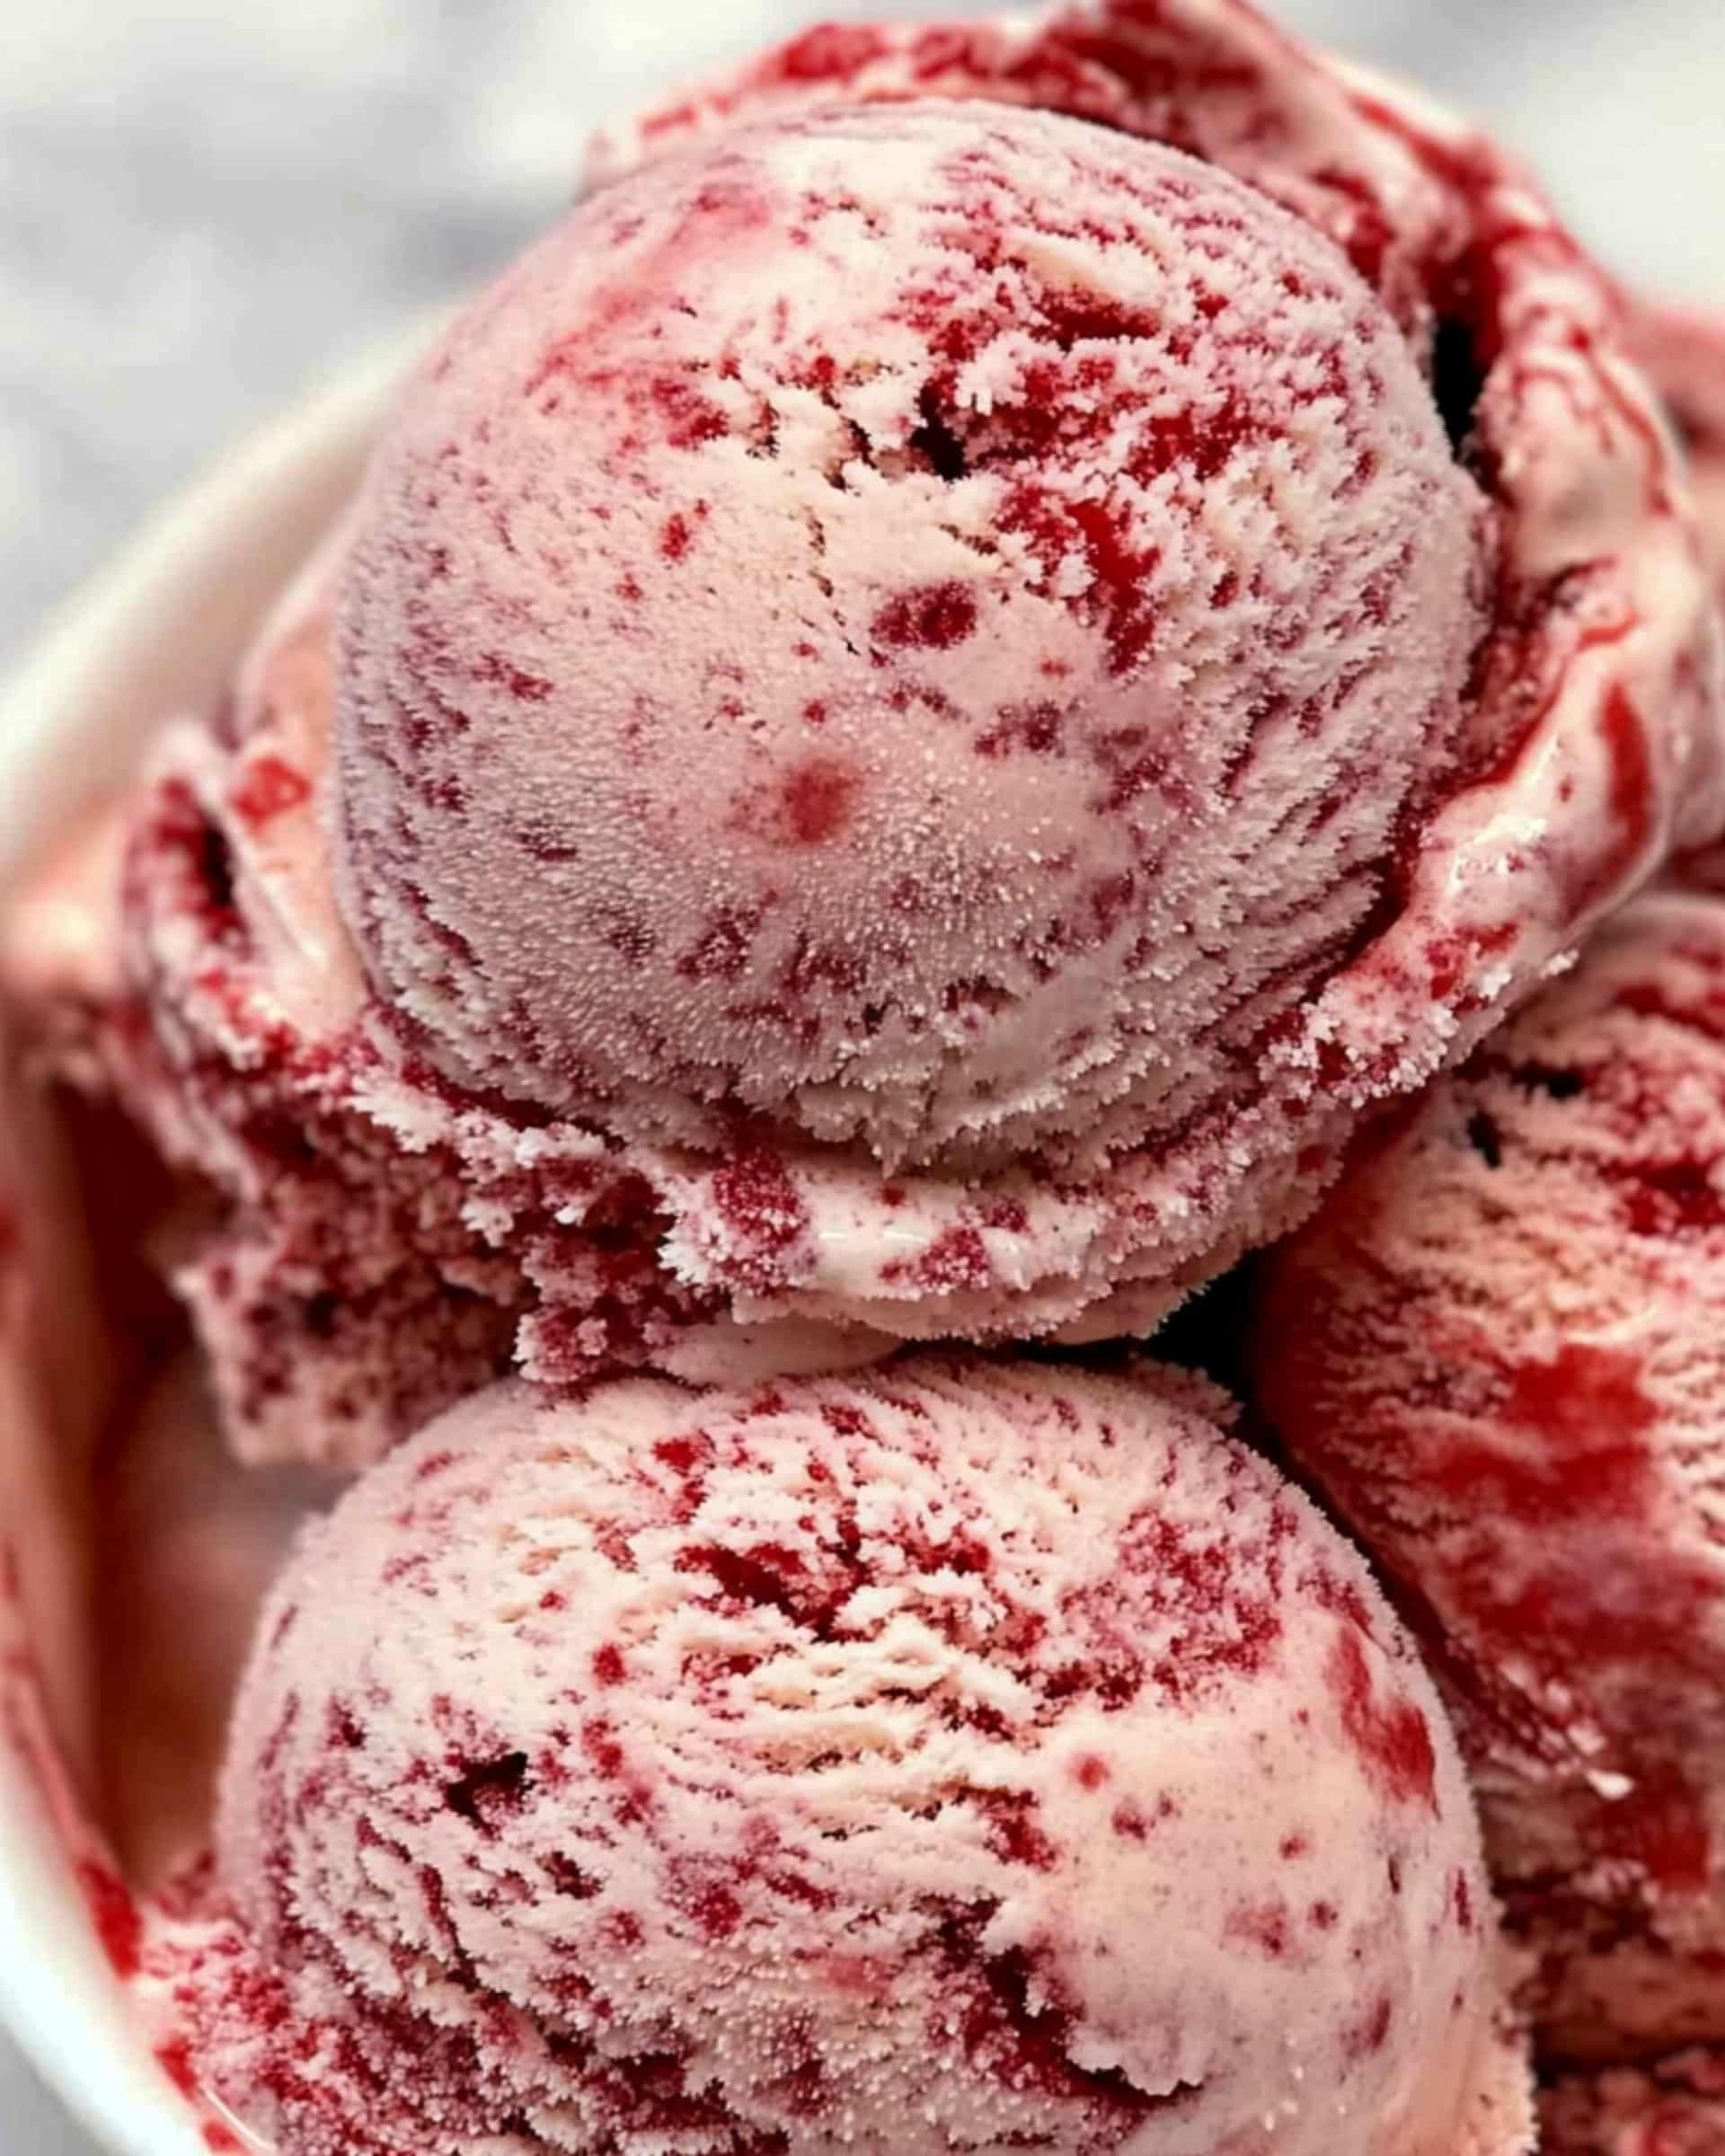
When you want to turn heads at dessert time—without spending all day in the kitchen—this Red Velvet Ice Cream is your new secret weapon. It’s as luxurious and decadent as a slice of classic red velvet cake, but in a frosty, creamy scoop, swirling with ribbons of tangy cheesecake and bursts of soft, chocolatey cake crumbs. Even if you’re juggling a busy schedule, this recipe delivers an out-of-the-ordinary treat with minimal active prep. Whether you’re celebrating or just need a quick sweet fix, this is a showstopping dessert anyone can master.
Why You’ll Love This Recipe
- Unbelievably Quick to Assemble: Most of your time is simply chilling and freezing—actual hands-on work is fast and straightforward.
- Familiar Flavors, Unexpected Form: The classic combination of red velvet and tangy cream cheese frosting meets the cool, creamy texture of homemade ice cream.
- Perfect for Celebrations or Any Night: It looks impressive and festive but couldn’t be easier to make.
- Customizable: Can be made with either fresh or leftover cake—no waste and so many ways to personalize!

Ingredients You’ll Need
Gather these essentials to make the dreamiest Red Velvet Ice Cream:
- Cream Cheese: The backbone of the base, giving that signature tangy richness, just like frosting.
- Sour Cream: For added depth and a lovely tart creaminess that complements the sweet cake.
- Half-and-Half: Brings the right balance of creaminess and lightness, so your ice cream isn’t too heavy but irresistibly smooth.
- Granulated Sugar: For pure, clean sweetness that highlights the flavors without overpowering them.
- Salt: Just a pinch, but don’t skip it—it heightens all the flavors.
- Vanilla Extract: Amplifies both the cake and cheesecake elements, tying everything together.
- Red Velvet Cake Crumbs: The star mix-in! Use either plain or iced cake crumbs, fresh or leftover—the cake brings both texture and that signature cocoa-vanilla flavor. If you’re making this right after baking a cake, let the crumbs cool completely.
Tip: For best results, use block-style cream cheese—not whipped or spreadable kinds.
Note: You’ll find the complete list of ingredients, along with their exact measurements, in the printable recipe card at the bottom of this post.
Variations
- Chocolate Chips or Shaved Chocolate: Fold in a handful for extra texture and a touch more decadence.
- Swirl in Cream Cheese Frosting: Add dollops of frosting right before the final freeze for even more luscious tang.
- Use Different Cakes: Switch out the red velvet for chocolate, carrot, or even funfetti cake crumbs for a whole new style.
- Liqueur Twist: For adults, try a splash of Irish cream or chocolate liqueur in the ice cream base before churning—just a tablespoon or two for flavor (too much will keep the ice cream from freezing).
How to Make Red Velvet Ice Cream
Step 1: Blend the Base
Start by breaking your cream cheese into small pieces and tossing them in your food processor. Add the sour cream, half-and-half, sugar, salt, and vanilla extract. Blend everything together until you have a creamy, lump-free mixture—this is what makes your ice cream silky-smooth.
Step 2: Chill Thoroughly
Pour the base into a bowl, cover, and chill it for at least 8 hours, or until very cold. This deep chill helps the ice cream churn quickly and evenly, giving you the perfect texture.
Step 3: Prepare Your Cake Crumbs
While the base chills, break up your red velvet cake into small, bite-sized pieces or crumbs. You can use plain cake or already iced cake—either way, those sweet little morsels add both taste and texture in every bite.
Step 4: Churn the Ice Cream
Once well chilled, pour your base into an ice cream maker. Churn according to your machine’s instructions. It usually takes about 15 minutes for it to reach that soft-serve stage.
Step 5: Fold in Cake Crumbs
While the ice cream churns, scatter the cake crumbs evenly into your storage container. As soon as churning is complete, quickly spoon the ice cream over the crumbs and gently fold everything together just until the cake is beautifully marbled throughout the creamy base.
Step 6: Freeze Until Firm
Cover and freeze the ice cream for at least 3 hours. This last step helps everything set so you can scoop perfect mounds packed with cake surprises.
Pro Tips for Making the Recipe
- Absolute Cold Is Key: Don’t rush the chilling—your ice cream will be fluffier and freeze faster if the base is truly cold.
- Gentle Folding: When you add the cake crumbs, use a light hand so the pieces keep their texture.
- Don’t Overload the Crumbs: While it’s tempting to add extra cake, stick to the recipe amount or you might end up with more cake than ice cream!
- Pre-freeze Your Container: If you have time, pop your storage container in the freezer beforehand—it helps keep the ice cream from melting when folding in the crumbs.
How to Serve
Red Velvet Ice Cream is special enough to shine on its own, but you can dress it up in so many ways:
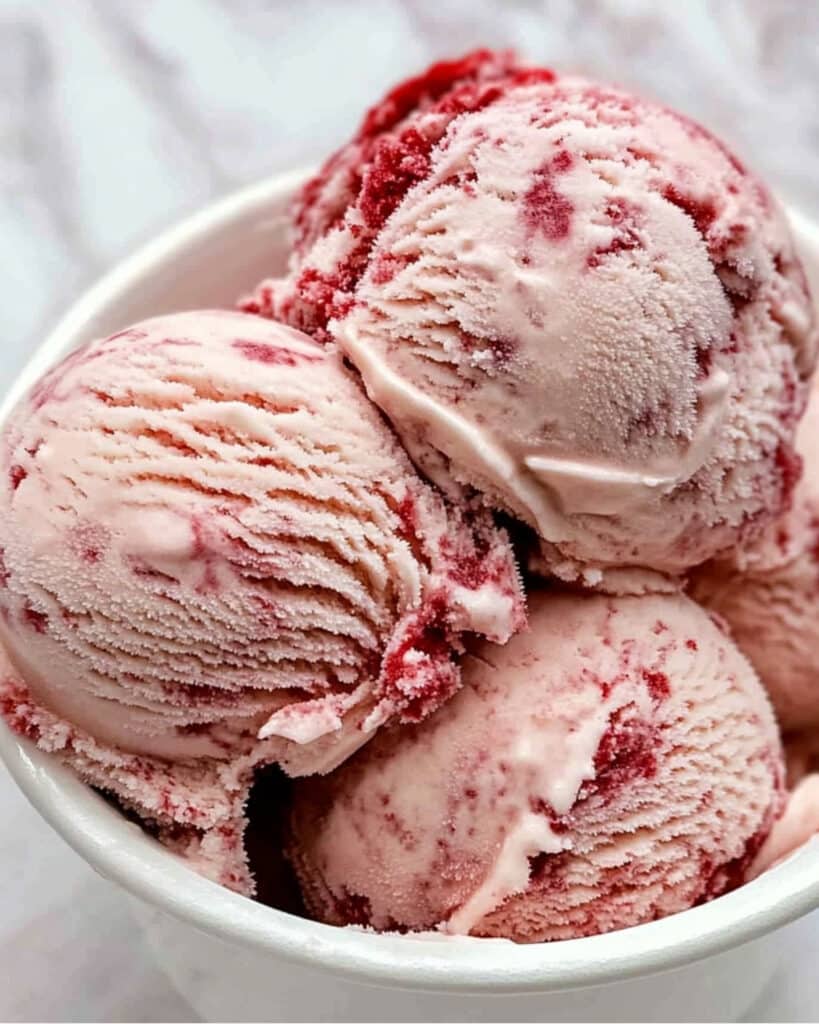
- Classic Scoops: Just a simple, generous scoop in a bowl or waffle cone lets those cake crumbs and rich flavors take the spotlight.
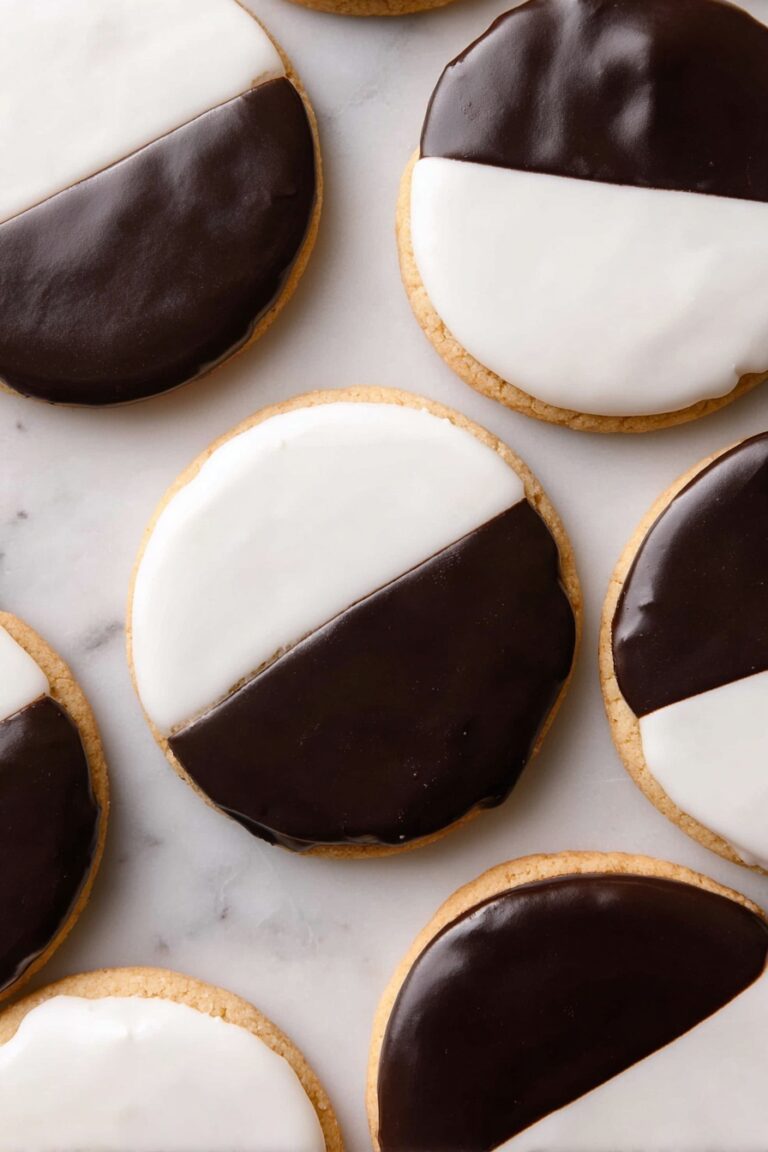
- Sandwich Between Cookies: Use soft chocolate cookies or even two thin slices of red velvet cake for over-the-top ice cream sandwiches.
- Garnish with Whipped Cream or Berries: A dollop of whipped cream and a sprinkle of fresh berries add color and balance.
- Pair With Chocolate Sauce: Drizzle with warm chocolate or fudge sauce for a decadent contrast.
This ice cream is a showstopper at birthday parties, anniversaries, or as a finish to a date-night dinner.
Make Ahead and Storage
Storing Leftovers
Once firm, keep the ice cream covered in the coldest part of your freezer. It’ll stay fresh and delicious for up to two weeks—though few leftovers ever last that long!
Freezing
If you want to prep ahead, make the base mixture and keep it chilled in the fridge up to 24 hours before churning. The finished ice cream freezes well for several weeks, but for best texture, enjoy within the first week.
Reheating
No reheating needed here! If the ice cream is too hard straight from the freezer, let the container sit at room temperature for 5–10 minutes before scooping.
FAQs
-
Can I make this ice cream without an ice cream maker?
Absolutely. After blending and chilling the base, pour it into a shallow freezer-safe dish and freeze, stirring vigorously every 30 minutes until mostly firm. Then fold in the cake crumbs and finish freezing until set.
-
Can I use store-bought red velvet cake or cupcakes?
Yes, store-bought works beautifully. Cupcakes, slices, or even cake scraps all add wonderful flavor and texture.
-
Is there a substitute for half-and-half if I don’t have it on hand?
You can use equal parts whole milk and heavy cream in place of half-and-half. Avoid using just milk—it won’t be as creamy.
-
How do I prevent the cake crumbs from getting soggy?
Make sure the ice cream is thick and just-churned before folding in the crumbs, and add them just before the final freeze. This helps them hold their texture and prevents sogginess.
Final Thoughts
Red Velvet Ice Cream takes everything you love about a classic cake and transforms it into the ultimate frozen treat—smooth, tangy, and bursting with cake in every creamy spoonful. It’s a fantastic way to treat yourself, impress friends, or simply shake up your weeknight dessert routine. Don’t be afraid to make it your own; embrace the simplicity, get creative, and enjoy every decadent bite. Give this recipe a try—it just might become your favorite way to eat cake!
Print
Red Velvet Ice Cream Recipe
- Prep Time: 11 hours
- Cook Time: 15 minutes
- Total Time: 11 hours 15 minutes
- Yield: About 1 quart (serves 8-10)
- Category: Desserts
- Method: Blending
- Cuisine: American
- Diet: Vegetarian
Description
This luscious Red Velvet Ice Cream combines the creamy tang of cheesecake with the classic flavor of red velvet cake. Made with real cake crumbs swirled through a decadent cheesecake ice cream base, it’s a showstopping frozen dessert that’s perfect for special occasions or as a unique treat to impress your guests.
Ingredients
Ice Cream Base
- 8 ounces cream cheese
- 1 cup sour cream
- 1/2 cup half-and-half
- 2/3 cup granulated sugar
- Pinch of salt
- 1 teaspoon vanilla extract
Mix-In
- 2 cups plain or already iced red velvet cake crumbs
Instructions
- Prepare the Ice Cream Base: Cut the cream cheese into small pieces and add it to a food processor fitted with the metal blade. Add sour cream, half-and-half, granulated sugar, salt, and vanilla extract. Purée everything together until completely smooth and creamy.
- Chill the Mixture: Transfer the puréed ice cream base to a bowl or container, cover, and chill in the refrigerator for at least 8 hours or until the mixture is very cold (preferably about 40 degrees Fahrenheit).
- Churn the Ice Cream: Once the mixture is well chilled, pour it into your ice cream maker and churn according to the manufacturer’s instructions until it reaches a soft-serve consistency.
- Prepare Cake Crumbs Layer: While the ice cream is churning, place the red velvet cake crumbs into the container you plan to use to store the finished ice cream.
- Mix and Freeze: Once churning is complete, quickly fold the ice cream into the container with the red velvet cake crumbs, swirling and folding until the crumbs are evenly distributed. Freeze until firm, at least 3 hours, before serving.
Notes
- Use leftover or store-bought red velvet cake for best convenience.
- Make sure the ice cream base is thoroughly chilled for optimal churning results.
- You can use iced cake or plain cake crumbs, depending on preference for more or less sweetness.
- Allow the ice cream to sit at room temperature for a few minutes for easier scooping.
Nutrition
- Serving Size: 1/2 cup
- Calories: 310
- Sugar: 22g
- Sodium: 170mg
- Fat: 18g
- Saturated Fat: 11g
- Unsaturated Fat: 6g
- Trans Fat: 0.5g
- Carbohydrates: 33g
- Fiber: 0.5g
- Protein: 4g
- Cholesterol: 60mg
