
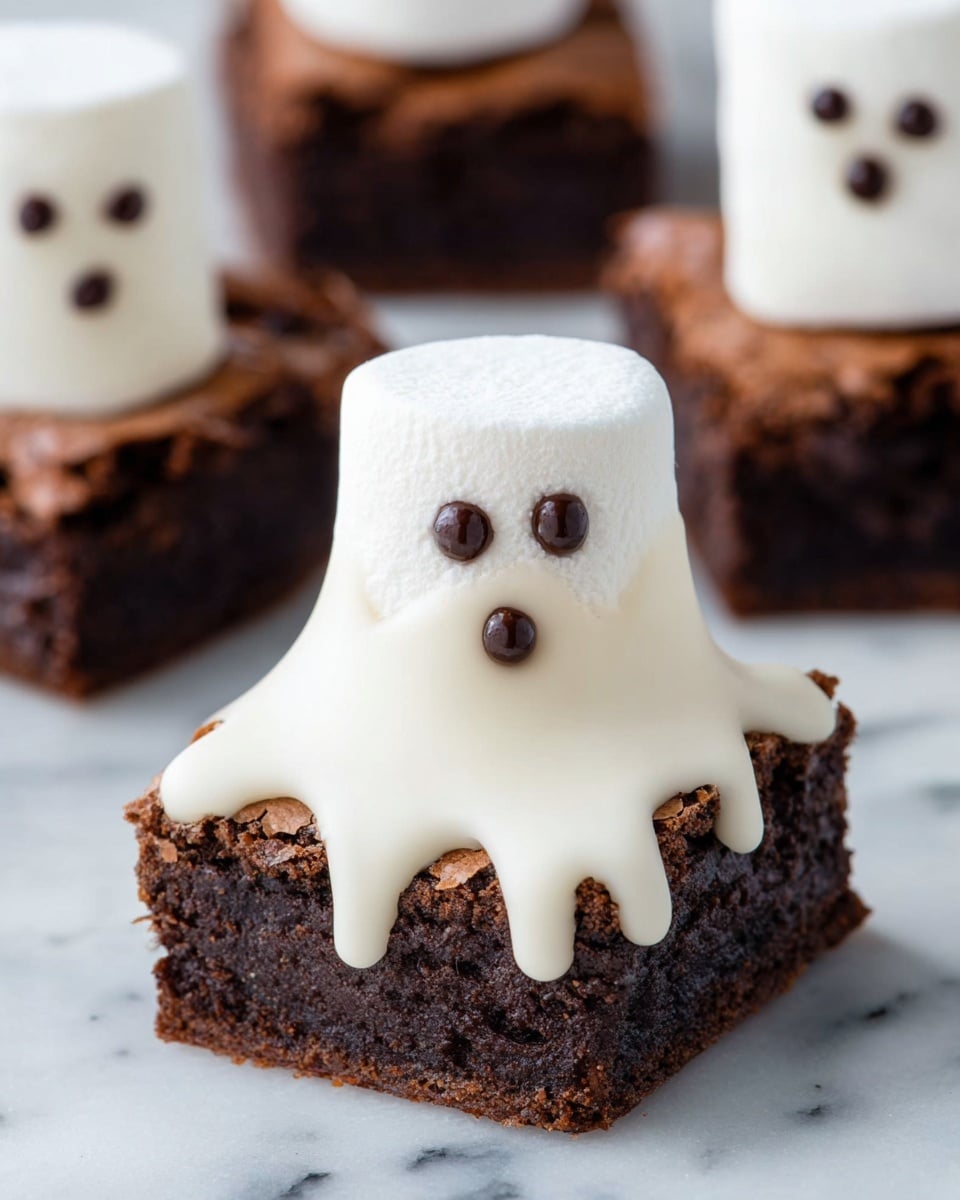
If you’re looking to wow your friends and family this Halloween (or, let’s be real, anytime you want a fun treat), this Ghost Brownies Recipe is an absolute game changer. I discovered this recipe last year when I wanted to add a spooky twist to my usual brownies, and it quickly became a favorite at every gathering. These spooky little ghosts perched on fudgy brownie squares are as adorable as they are delicious — and I’m excited to share every detail with you so you can nail them just like I did!
Why You’ll Love This Recipe
- Simple Ingredients: Using a boxed brownie mix means less fuss without sacrificing flavor—that’s my kind of baking!
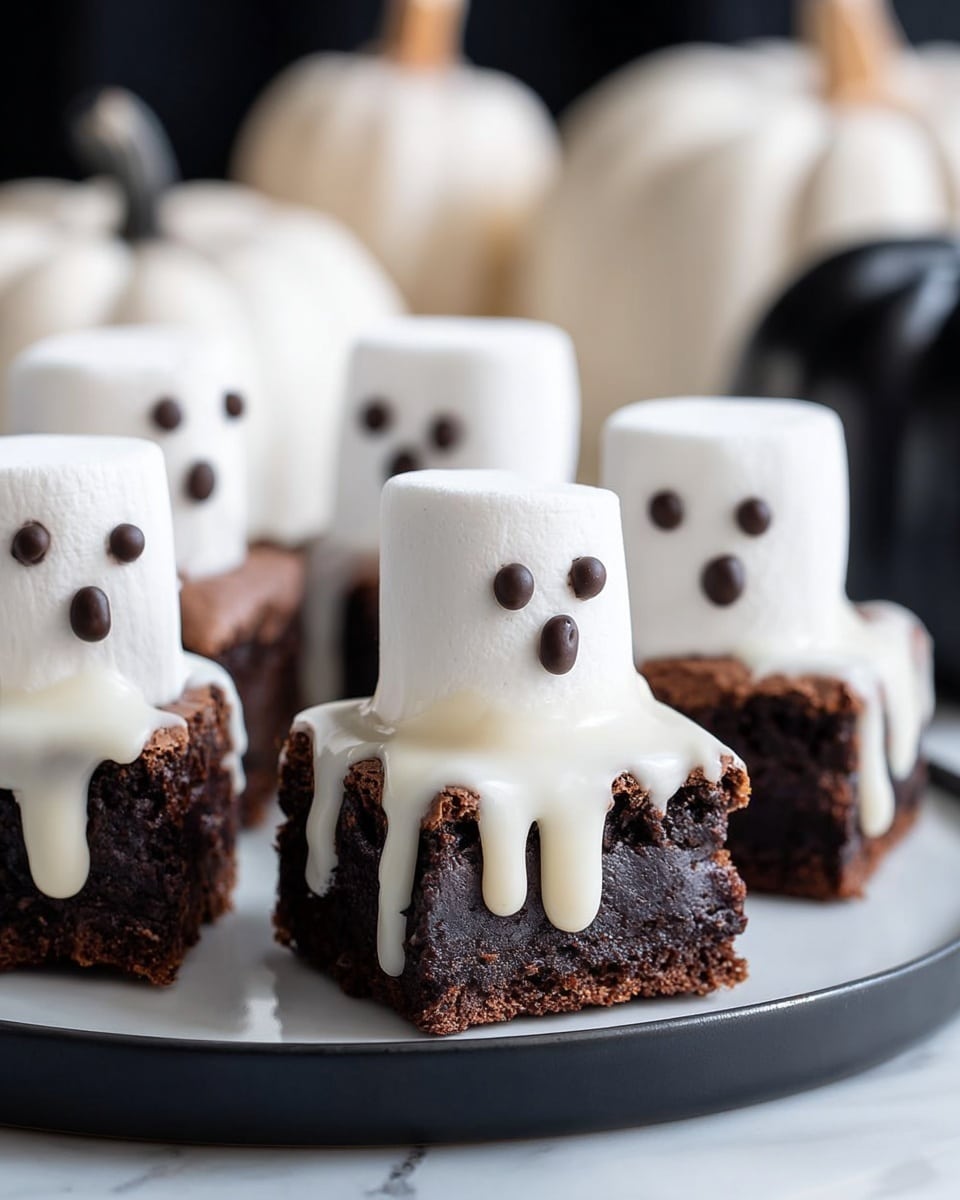
- Eye-Catching Presentation: The marshmallow ghosts make these brownies festive and fun, perfect for parties or school events.
- Kid-Friendly Fun: Decorating these is a blast for kids and adults alike, a guaranteed way to get everyone involved in the kitchen.
- Fudgy & Sweet: The rich chocolate paired with melty white chocolate coating on marshmallows creates the perfect flavor combo.

Ingredients You’ll Need
What’s great about this Ghost Brownies Recipe is how it combines pantry basics with fun Halloween elements. I recommend using good quality white melting wafers for a smooth finish—they really make a difference when coating the marshmallows.
- Brownie mix: Choose your favorite boxed mix for a consistent fudgy base without extra effort.
- White melting wafers: These melt smoothly and give the ghosts their classic milky look without clumping.
- Large marshmallows: The stars of the show – pick big ones for taller, more prominent ghosts.
- Semi-sweet chocolate chips: Ideal for piping on eyes and mouths—a little goes a long way for expressions!
Variations
I love how customizable this Ghost Brownies Recipe is. Whether you want to make them dairy-free, add some festive sprinkles, or try different coated ghosts, it’s easy to switch things up and make it your own.
- Dairy-Free Version: I swapped the semi-sweet chocolate chips for dairy-free chips and used vegan marshmallows for an allergy-friendly treat that still tastes amazing.
- Colorful Ghosts: Once, I added a few drops of food coloring to the melting wafers to create spooky blue and green ghosts—it made the brownies pop at a party!
- Spiced Brownies: Adding a pinch of cinnamon or pumpkin spice to the brownie batter adds warm fall flavors that pair beautifully with the ghostly decoration.
How to Make Ghost Brownies Recipe
Step 1: Bake Your Brownies Just Right
Start by preparing your brownie mix according to the package instructions. I almost always line my 9×9 pan with parchment paper—this little trick lets me lift the brownies out easily once cooled and keeps the edges intact. Bake until a toothpick comes out with just a few moist crumbs; underbaking gives you fudgy brownies, and that’s exactly what you want here.
Step 2: Cut and Get Ready for Ghosts
Once your brownies have fully cooled (this part is crucial for neat decorating), lift them out using the parchment and cut into 16 even squares. Place them spaced out on a parchment-lined baking sheet—trust me, you want room to move when adding the marshmallow ghosts.
Step 3: Melt the White Wafers and Coat the Marshmallows
Next, melt your white candy melting wafers following package instructions. Here’s the trick I learned: dip the bottom of each large marshmallow in the melted wafers and immediately stick it to the center of a brownie square—this secures the ghost in place. Then, spoon more melted wafers over and around the marshmallow to create that signature ghost shape. Use a spoon to coax the coating evenly, and don’t worry about drips—those add character!
Step 4: Let Them Set Before the Final Touch
Allow the coated marshmallows to set at room temperature until firm—this usually takes about 30 minutes. You want them completely dry before you add the eyes and mouth to keep the design crisp.
Step 5: Melt Chocolate Chips and Decorate Your Ghosts
Melt the semi-sweet chocolate chips slowly in 15-second bursts, stirring well in between to avoid overheating. I pour the melted chocolate into a sandwich bag and snip a tiny corner to pipe on the eyes and spooky mouths. This step is so fun because every ghost gets its own personality—sometimes silly, sometimes scary. Let them set one final time and voilà, your ghost brownies are ready to spook and delight!
Pro Tips for Making Ghost Brownies Recipe
- Parchment Paper Is Your Best Friend: I can’t emphasize enough how much easier it is to lift and cut brownies perfectly when you line the pan—no crumbling or sticking.
- Work Fast with White Wafers: The coating can start to harden quickly. If that happens, just add a teaspoon of coconut oil and remelt briefly—this tip saved me more than once!
- Customize Your Ghost Faces: Try different eye shapes or mouths with the chocolate to make each ghost unique—it’s part of the fun!
- Patience for Setting: Don’t rush the setting time—letting the chocolate firm up fully prevents smudged decorations and sticky fingers.
How to Serve Ghost Brownies Recipe
Garnishes
I often sprinkle a little edible glitter or festive Halloween sprinkles around the plate to add sparkle and more color contrast—it makes the ghosts pop! If you want a spooky touch, tiny candy eyeballs placed around are always a hit.
Side Dishes
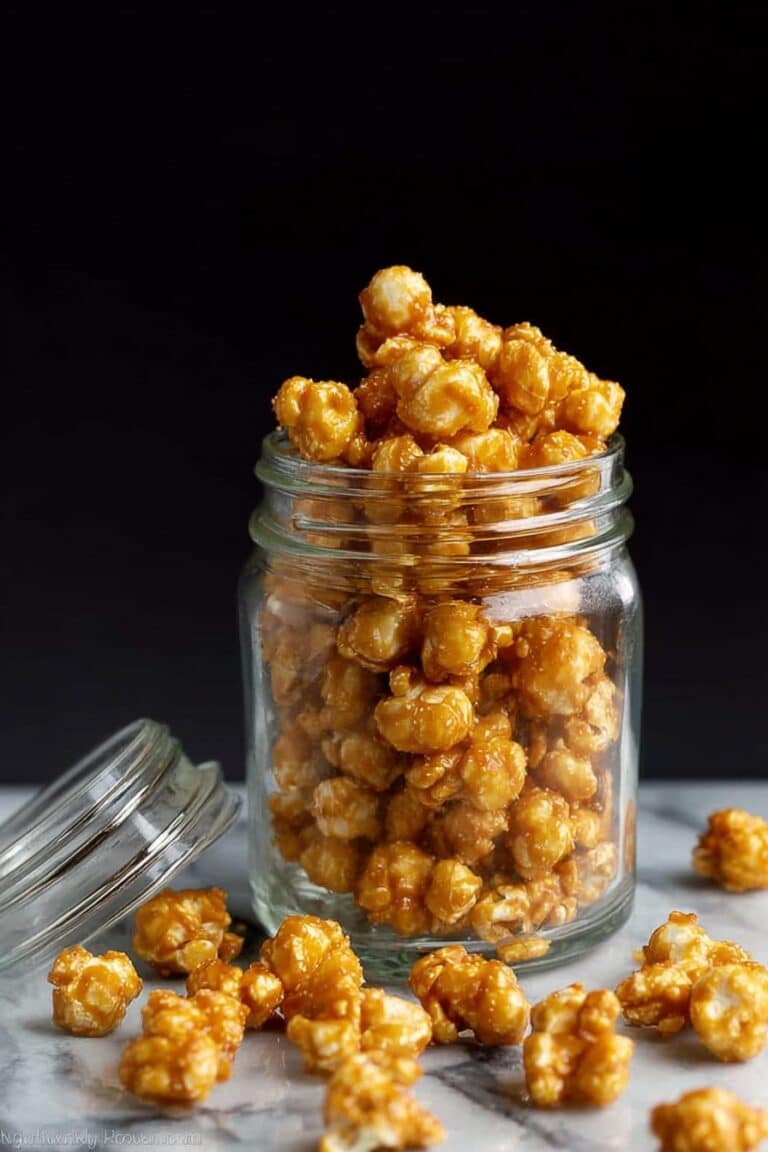
Pair these brownies with a simple glass of cold milk or pumpkin spice latte for a cozy vibe. I’ve also served them alongside vanilla ice cream for after-dinner treats, and my family goes crazy over it.
Creative Ways to Present
For Halloween parties, I place ghost brownies on a tiered serving tray with fake spider webs beneath for effect. Another time, I cut the brownie base into ghost shapes using cookie cutters before decorating marshmallows—the kids thought it was magical!
Make Ahead and Storage
Storing Leftovers
Store any leftover ghost brownies in an airtight container at room temperature. They stay moist and hold their shape really well for up to 3 days—though, if you’re like me, they probably won’t last that long!
Freezing
I’ve frozen these brownies after the ghost coating sets by wrapping each brownie individually in plastic wrap, then placing them in a freezer-safe container. Whenever I defrost them overnight in the fridge, they taste almost as good as fresh!
Reheating
To bring back that just-baked feel, I pop one brownie in the microwave for about 10-15 seconds—the marshmallow ghosts stay intact but get slightly gooey and irresistible. Just don’t overheat or the chocolate decorations could melt!
FAQs
-
Can I make Ghost Brownies Recipe from scratch instead of using a boxed mix?
Absolutely! While I love the convenience of a boxed mix for this recipe, you can use your favorite homemade brownie recipe. Just make sure the brownies are fully cooled and slightly fudgy to support the marshmallow ghosts without collapsing.
-
What’s the best way to melt the white chocolate wafers without them seizing?
The key is to melt them slowly in short bursts (around 15-20 seconds) in the microwave, stirring well in between. If the chocolate starts to thicken, add a tiny bit of coconut oil or shortening to smooth it out, then continue melting gently.
-
Can I decorate the ghosts without semi-sweet chocolate chips?
Yes! You can use melted dark chocolate, chocolate ganache, or even edible markers designed for cakes. Just make sure whatever you use hardens well so the ghost faces stay intact.
-
How long do the Ghost Brownies last?
Stored in an airtight container, they’re best enjoyed within 3 days at room temperature. For longer storage, freezing is your friend and they keep well for up to a month.
Final Thoughts
I absolutely love how this Ghost Brownies Recipe brings together simplicity, fun, and that wow factor in one spooky treat. When I first tried it, I was sold instantly by how easy it was to transform a classic brownie into something festive and charming with just a few extra steps. If you want to impress your crew and enjoy a hands-on baking session that yields delicious results, trust me—these ghost brownies are worth every delightful bite and smile they bring. Grab your ingredients, get cozy in the kitchen, and have a blast making them your very own!
Print
Ghost Brownies Recipe
- Prep Time: 20 minutes
- Cook Time: 35 minutes
- Total Time: 1 hour 25 minutes
- Yield: 16 servings
- Category: Dessert
- Method: Baking
- Cuisine: American
Description
Ghost Brownies are a festive and delicious Halloween treat featuring classic brownies topped with marshmallow ghosts coated in white melting chocolate and decorated with chocolate faces. These spooky yet sweet brownies are perfect for parties and family gatherings.
Ingredients
Brownie Base
- 1 box (18 oz) brownie mix (plus ingredients called for on the box)
Ghost Decoration
- 1 bag (10 oz) white melting wafers (about 1½ cups)
- 16 large marshmallows
- 2 tablespoons semi-sweet chocolate chips
Instructions
- Prepare the Brownies: Prepare the brownies in a 9×9 square baking pan according to the box directions. For easy removal, line the pan with parchment paper before baking. Bake and then allow the brownies to cool completely before decorating.
- Cut Brownies: Remove the cooled brownies from the pan and cut into 16 squares. Transfer the squares to a parchment-lined baking sheet, spacing them at least 1 inch apart.
- Melt White Chocolate: Melt the white melting wafers according to the package directions until smooth and ready for dipping.
- Attach Marshmallows: Dip the bottom of each large marshmallow into the melted white chocolate and firmly press it onto the center of each brownie square.
- Coat Marshmallows: Spoon melted white chocolate over the attached marshmallows, letting the chocolate run down and coat all sides evenly. Use a spoon to help smooth the coverage, even if some chocolate drips onto the brownie sides. Let the coating set at room temperature until firm.
- Melt Semi-Sweet Chocolate Chips: Melt the semi-sweet chocolate chips in 15-second increments in the microwave, stirring between each until smooth.
- Create Ghost Faces: Transfer the melted semi-sweet chocolate to a small piping bag or a Ziploc bag with a tiny corner cut off. Pipe eyes and mouths onto each marshmallow ghost. Allow chocolate faces to set completely before serving.
Notes
- Work quickly when applying the white melting wafers on the marshmallows to prevent the chocolate from hardening prematurely. If it hardens, add 1 teaspoon of shortening or coconut oil and remelt for 15-30 seconds.
- Use only white melting wafers or white candy melts (such as Ghirardelli brand) for the coating. Do not substitute with white chocolate chips, as they don’t melt as smoothly or remain melted long enough.
- Lining the pan with parchment paper helps easily lift out the brownies for cutting without damage.
Nutrition
- Serving Size: 1 brownie (with ghost decoration)
- Calories: 280
- Sugar: 25g
- Sodium: 150mg
- Fat: 12g
- Saturated Fat: 7g
- Unsaturated Fat: 4g
- Trans Fat: 0g
- Carbohydrates: 38g
- Fiber: 2g
- Protein: 3g
- Cholesterol: 20mg

