
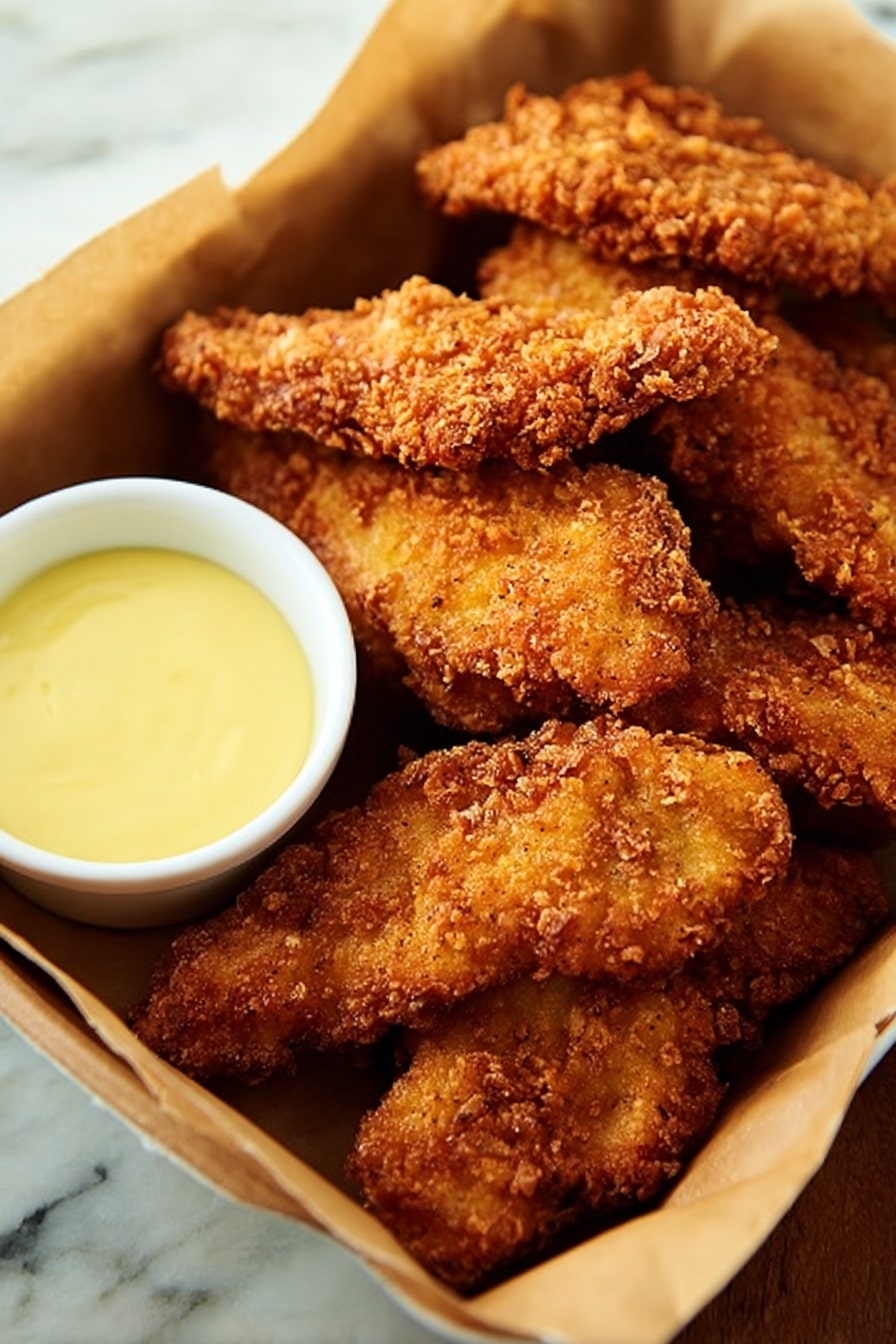
If you’re craving something crunchy, flavorful, and downright addictive, you’re going to love this Crispy Saltine Chicken Tenders Recipe. It’s one of those dishes that feels special but comes together quickly, perfect for busy weeknights or casual gatherings. Trust me, once you bite into these tenders, with their perfectly seasoned, salty cracker crust and juicy chicken inside, you’ll be hooked. I can’t wait to share all my tips so you nail this recipe every time!
Why You’ll Love This Recipe
- Unbeatable Crunch: The crushed saltine crackers create a crispy coating that’s golden and irresistible every single time.
- Flavor Boost: A blend of seasonings and chicken bouillon adds a savory depth that makes these tenders pop with flavor.
- Easy to Make: With simple ingredients and straightforward steps, you’ll have dinner on the table in under an hour.
- Family Favorite: My family goes crazy for these tenders, and I’m betting yours will too—kids and adults alike!

Ingredients You’ll Need
This recipe works beautifully because the saltines provide a light, crunchy crust that’s perfectly balanced by the savory seasonings on the chicken. When you pick quality chicken tenders and fresh crackers, it really makes all the difference.
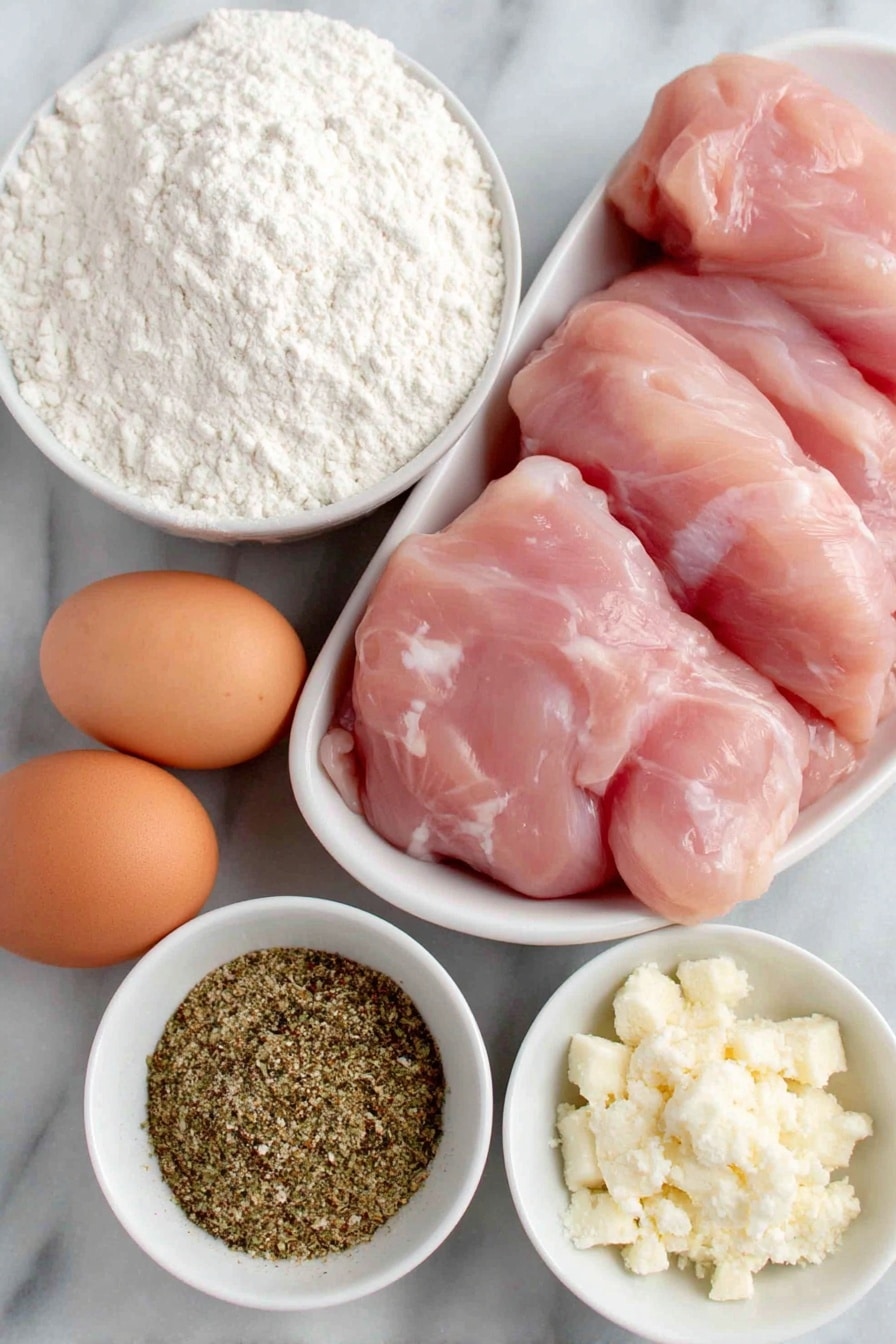
- Chicken Tenderloins: Choose fresh, plump tenders for juiciness and tenderness every time.
- Salt: Enhances the natural flavor of the chicken and balances the seasoning.
- Black Pepper: Adds a subtle heat that complements the savory notes.
- Garlic Powder: Offers a warm, aromatic touch without overpowering.
- Poultry Seasoning: Blends herbs that perfectly bring out the chicken’s best flavors.
- Chicken Bouillon Cube or Powder: This is my secret umami booster that makes the crust extra flavorful.
- Saltine Crackers: The star crust ingredient; crush them finely for the best texture.
- Large Eggs: Act as the glue that helps the cracker crumbs stick tightly to the chicken.
- All-Purpose Flour: Creates that initial coating that helps lock in moisture and improve the crisp.
- Vegetable or Peanut Oil: For frying to a perfect, golden crisp without overpowering flavors.
Variations
I love how versatile this Crispy Saltine Chicken Tenders Recipe is. Over time, I’ve adjusted the seasonings and sometimes swapped ingredients to suit what we’re in the mood for or what’s in our pantry. Feel free to make it your own!
- Spicy Kick: Add cayenne pepper or smoked paprika to the seasoning mix—I did this once, and my family begged me to keep it that way!
- Gluten-Free Option: Use gluten-free crackers and an alternative flour like rice or chickpea flour to make it safe for gluten-sensitive eaters.
- Baked Version: For a lighter twist, bake the coated tenders at 425°F for 15-20 minutes, flipping halfway through, though frying really gives that unbeatable crunch.
- Herb Infusion: Mix fresh herbs like thyme or rosemary into the cracker crumbs for an herbal aroma that’s sheer magic.
How to Make Crispy Saltine Chicken Tenders Recipe
Step 1: Season and Marinate the Chicken
Start by whisking together the salt, pepper, garlic powder, poultry seasoning, and crushed chicken bouillon in a small bowl. Then, toss your chicken tenders in this seasoning blend—either in a large bowl or a zip-top bag works fine. I like using a bag because it evenly coats every tender with just a quick shake. Let them marinate for about 20 minutes. This little wait time is worth it—it allows the seasoning to seep deep, which means more flavor in every bite.
Step 2: Crush Those Saltines
Next comes the fun part—crushing your saltine crackers. I’ve tried everything from using a food processor to the old rolling-pin-in-a-bag trick. Both work well, but I love the control I get with the rolling pin. Aim for fine, crumbly pieces that will stick beautifully to the tenders. If the crumbs are too large, the coating might fall off when frying.
Step 3: Set Up Your Dredging Station
Set out three shallow dishes—one with flour, one with beaten eggs, and one with your crushed saltine crumbs. This classic setup helps the coating adhere perfectly and creates that ultra-crispy texture you’re after. When you dredge, make sure to shake off excess flour before dipping in the egg, then press the cracker crumbs onto the chicken tenders so they stick well.
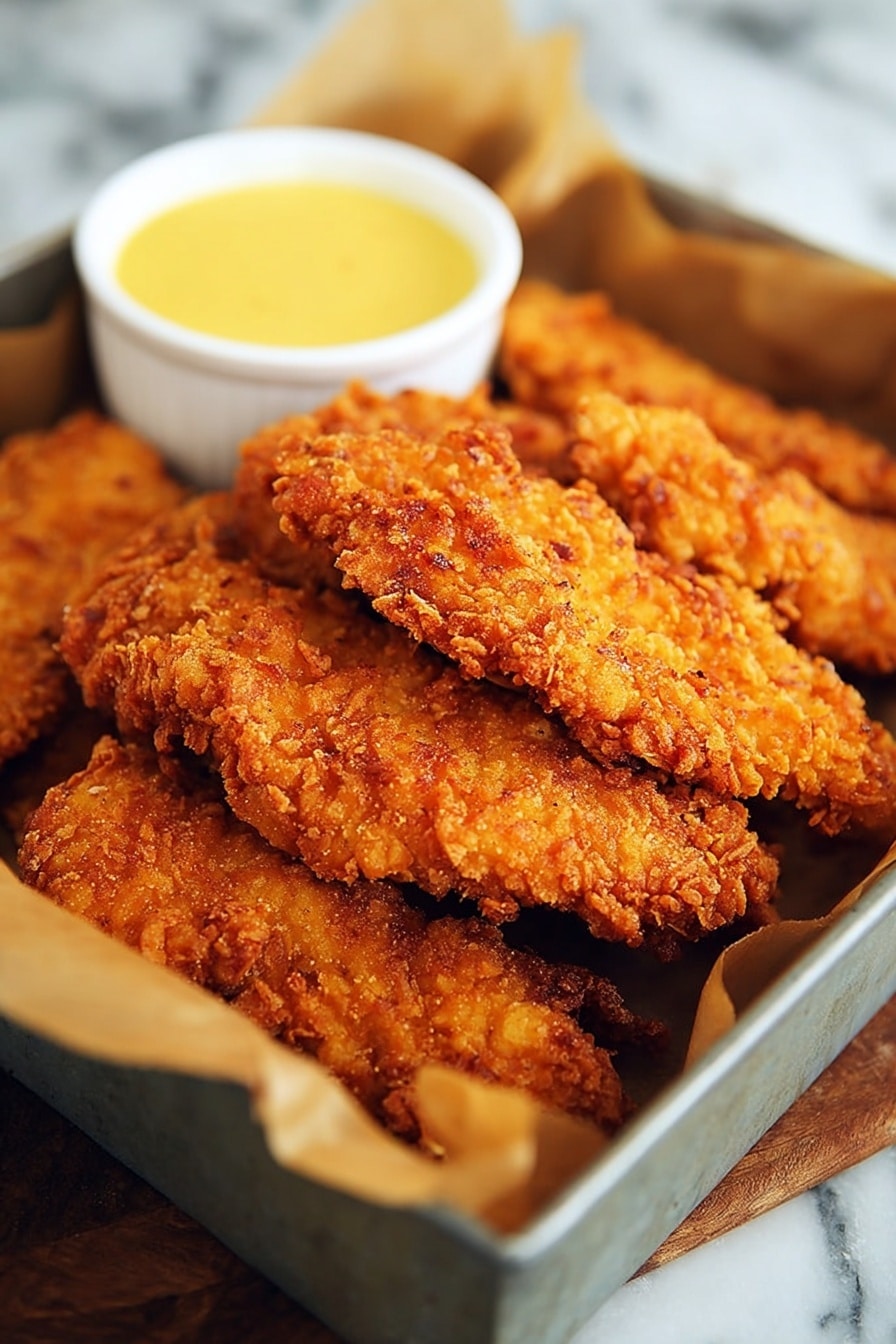
Step 4: Fry to Golden Perfection
Pour 2 to 3 inches of oil into a deep pot or dutch oven and heat it to about 365°F. Use a thermometer here—it makes a huge difference! Fry 3 to 4 tenders at a time, giving them plenty of room to cook evenly without crowding. It usually takes about 4 minutes per batch until golden brown and reaching an internal temperature of 165°F. Use a wire rack to drain the tenders so they stay crisp instead of steaming on a plate. I like keeping cooked batches warm in a low oven while frying the rest.
Pro Tips for Making Crispy Saltine Chicken Tenders Recipe
- Use a Thermometer: I learned the hard way—oil temp below 350°F soaks into the crust; too hot burns it. Aim for steady 365°F for crispy, golden results.
- Press Crumbs Firmly: Pressing the cracker crumbs onto the tenders ensures they stick during frying, which means a more consistent crunch.
- Drain on Wire Rack: Laying tenders on a wire rack instead of paper towels avoids sogginess, keeping the crust crisp every bite.
- Don’t Overcrowd the Pan: Giving the tenders space avoids temperature drops and uneven cooking—your crispy dream depends on this!
How to Serve Crispy Saltine Chicken Tenders Recipe
Garnishes
I keep it simple with a sprinkle of fresh chopped parsley or chives. It adds a bright pop of color and freshness that balances the rich, crunchy tenders. You can also serve with lemon wedges—just a squeeze brightens up those savory flavors beautifully.
Side Dishes
We often pair these tenders with classic side dishes like creamy coleslaw, crispy oven-baked fries, or even a fresh garden salad for a lighter touch. When I’m feeling cozy, homemade mashed potatoes with gravy are a perfect, hearty match.
Creative Ways to Present
For a fun twist, try serving these tenders as sliders with mini buns, a dab of ranch, and crisp lettuce—easy finger food for parties. Or, lay them out on a sharing platter with an array of dips like honey mustard, BBQ sauce, or spicy aioli for guests to customize each bite.
Make Ahead and Storage
Storing Leftovers
I store leftover tenders in an airtight container in the fridge for up to 3 days. To keep their crispness, I arrange them separated by parchment paper. This keeps them from sticking together and helps them reheat nicely later.
Freezing
Freeze cooked tenders in a single layer on a baking sheet first, then transfer to a freezer-safe bag. When I’ve done this, I’ve kept them for up to 2 months. Freeze them separately, so they don’t clump, making reheating much easier.
Reheating
To reheat, I pop them in a preheated oven at 375°F for about 10 minutes or until hot and crispy again. Avoid microwaving if possible, as it tends to make the crust soggy. A quick reheat in a skillet with a bit of oil also works great for restoring crunch.
FAQs
-
Can I bake the Crispy Saltine Chicken Tenders instead of frying?
Yes! Baking is a great alternative if you want to avoid frying. Preheat your oven to 425°F, place the coated tenders on a baking sheet lined with parchment, and bake for 15-20 minutes, flipping halfway through. While baking won’t give the exact same crunch as frying, the saltine coating still crisps up nicely.
-
How do I keep the coating from falling off while frying?
Make sure you dredge the chicken in flour, then dip in the egg wash, and press the cracker crumbs firmly onto the tenders. Avoid shaking off too many crumbs after coating—some extra sticking on is good! Also, maintain the oil temperature around 365°F to cook the tenders quickly and seal the coating.
-
What’s the purpose of the chicken bouillon in this recipe?
The crushed chicken bouillon cube or powder adds a savory, umami depth to the seasoning mix, enriching the overall taste of the crust. It’s a small addition that makes a big flavor difference, especially when combined with the garlic and poultry seasoning.
-
Can I use other types of crackers for the crust?
You can experiment with different crackers, but saltines are ideal because they’re light and crispy with a neutral salty flavor. Using something like buttery Ritz crackers might work too, but the texture and flavor will change. If you try a swap, just be sure they crush well to create a good coating.
-
Is this recipe kid-friendly?
Absolutely! My kids love these tenders because they’re crispy, flavorful, and easy to dip in their favorite sauces. You can easily adjust the seasoning to be milder if your kids prefer less spice.
Final Thoughts
This Crispy Saltine Chicken Tenders Recipe has become a go-to comfort food in my house because it hits all the right notes—crunchy, flavorful, and so satisfying. I love recommending it to friends because it’s straightforward, uses common ingredients, and always impresses. If you’re looking for a new chicken recipe that’s guaranteed crowd-pleaser, give this one a try. You’ll enjoy the ease and the delicious results as much as I do!
Print
Crispy Saltine Chicken Tenders Recipe
- Prep Time: 25 minutes
- Cook Time: 20 minutes
- Total Time: 45 minutes
- Yield: 5 servings
- Category: Main Dish
- Method: Frying
- Cuisine: American
Description
Crispy Saltine-Crusted Chicken Tenders are perfectly seasoned chicken tenders coated with a crunchy layer of crushed saltine crackers and fried to golden perfection. This recipe offers a delightful combination of tender, juicy chicken inside with a salty, crispy exterior, making it an irresistible finger food or main dish perfect for family dinners or casual gatherings.
Ingredients
Chicken and Seasoning
- 2 pounds chicken tenderloins (tenders)
- 1/2 teaspoon salt
- 1/2 teaspoon black pepper
- 1 teaspoon garlic powder
- 1/4 teaspoon poultry seasoning
- 1 chicken bouillon cube, crushed (or 1 teaspoon chicken bouillon powder)
Breading
- 2 sleeves saltine crackers (about 72 crackers)
- 2 large eggs, beaten until smooth
- 1/2 cup all-purpose flour
For Frying
- Vegetable or peanut oil for frying
Instructions
- Prepare the seasoning mixture: In a small bowl, whisk together salt, black pepper, garlic powder, poultry seasoning, and crushed chicken bouillon. This blend will infuse the chicken tenders with savory flavors.
- Marinate the chicken: Place the chicken tenders in a large bowl or zip-top bag, add the seasoning mixture, and toss or shake to coat the tenders evenly. Let them marinate for about 20 minutes to absorb the flavors.
- Crush the saltine crackers: Using a food processor, food chopper, or placing crackers in a zip-top bag and crushing with a rolling pin, finely crush the crackers until they resemble coarse breadcrumbs. This will form the crispy crust.
- Set up the dredging station: Arrange the flour, beaten eggs, and crushed crackers in three separate shallow dishes, each similar in size, to efficiently bread the chicken tenders.
- Coat the chicken: Toss each seasoned chicken tender first in flour, shaking off the excess, then dip it into the beaten egg to coat both sides, allowing excess egg to drip off. Finally, press each tender into the crushed cracker crumbs to cover thoroughly, ensuring the crumbs adhere well. Place the breaded tenders on a large baking sheet.
- Heat the oil: Pour 2 to 3 inches of vegetable or peanut oil into a deep Dutch oven or heavy pot and heat over medium heat until it reaches 365°F. Use a thermometer to monitor the temperature for optimal frying.
- Fry the chicken tenders: Carefully add 3 to 4 tenders at a time to the hot oil, frying for about 4 minutes per batch, or until the coating is golden brown and the internal temperature of the chicken reaches 165°F. Thicker tenders may require slightly longer cooking.
- Drain and keep warm: Remove the tenders with a slotted spoon or tongs and place them on a cooling rack set over a large pan to drain excess oil. Maintain the oil temperature around 365°F for subsequent batches. Keep cooked tenders warm in a preheated oven until all are ready to serve.
Notes
- Ensure oil temperature remains steady around 365°F to achieve a perfectly crispy crust without absorbing excess oil.
- Use a meat thermometer to check doneness, aiming for 165°F internal temperature for safe consumption.
- For extra flavor, consider adding paprika or cayenne pepper to the seasoning mixture for a slight kick.
- If you prefer baking over frying, bake coated tenders at 425°F on a wire rack over a baking sheet for about 20-25 minutes, turning halfway for even crispness.
- Peanut oil is recommended for frying due to its high smoke point and neutral flavor.
Nutrition
- Serving Size: 1 serving (approximately 4 oz chicken plus coating)
- Calories: 466 kcal
- Sugar: 1 g
- Sodium: 1070 mg
- Fat: 11 g
- Saturated Fat: 2 g
- Unsaturated Fat: 6 g
- Trans Fat: 0.2 g
- Carbohydrates: 42 g
- Fiber: 2 g
- Protein: 47 g
- Cholesterol: 191 mg

