
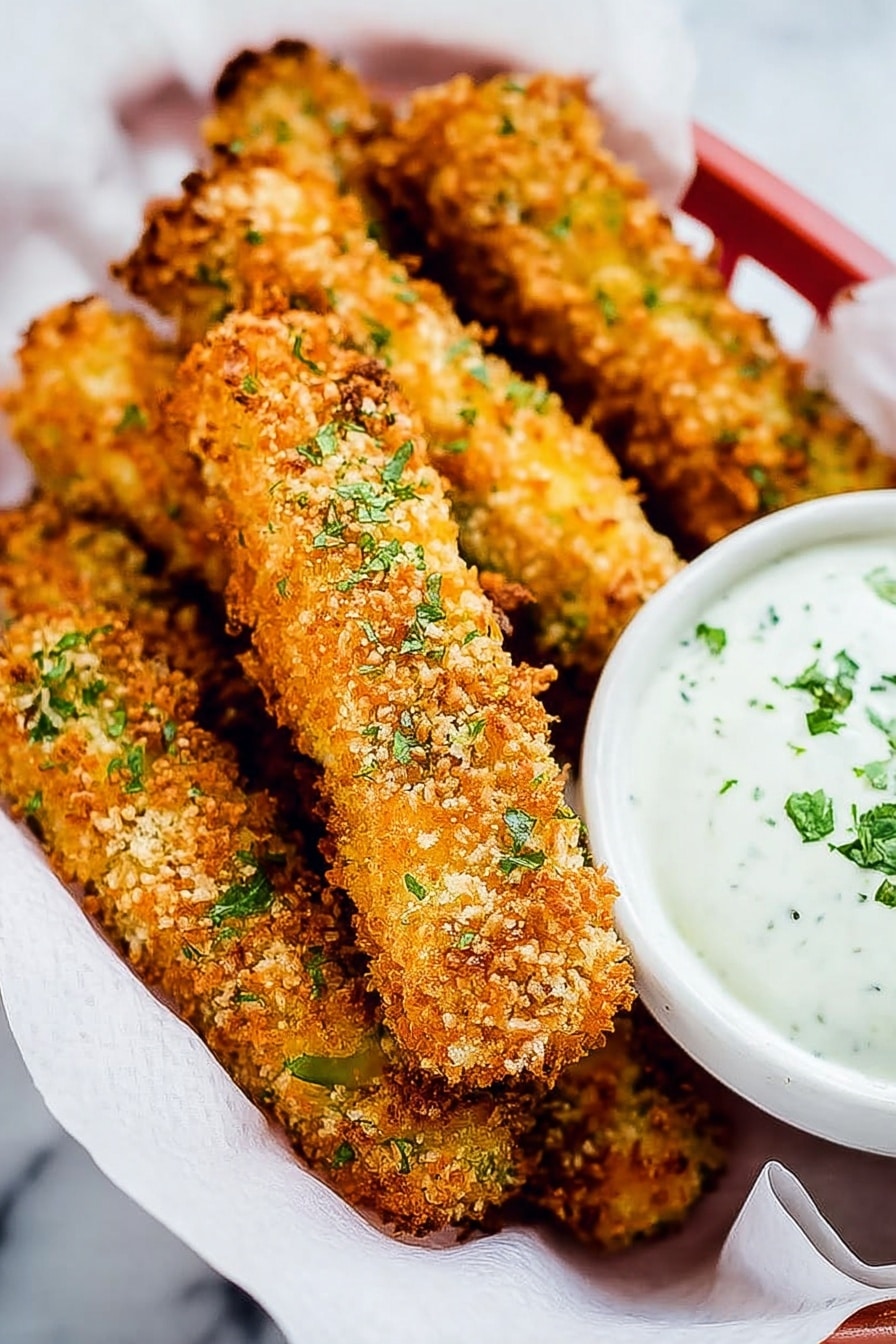
If you’ve ever been tempted by that crispy, zesty crunch of pickle fries at a fair or restaurant, you’re going to flip for this homemade version. I’m thrilled to share my Crispy Baked Pickle Fries with Dill Ranch Recipe because it’s the perfect combo of crispiness and tangy, herby goodness, all baked (not fried) for an easier, less messy snack that still packs a flavorful punch. Trust me, once you try these, you’ll find yourself reaching for pickles a lot more often!
Why You’ll Love This Recipe
- Healthier Crunch: Baking instead of frying means you get that crispy texture without the extra oil and mess.
- Homemade Dill Ranch Magic: This ranch dressing is fresh, tangy, and packed with dill that perfectly complements the pickles.
- Easy Steps: The recipe uses simple ingredients and a straightforward method you’ll feel confident following.
- Party Pleaser: I’ve made this for friends and family, and everyone goes crazy for these addictive fries.

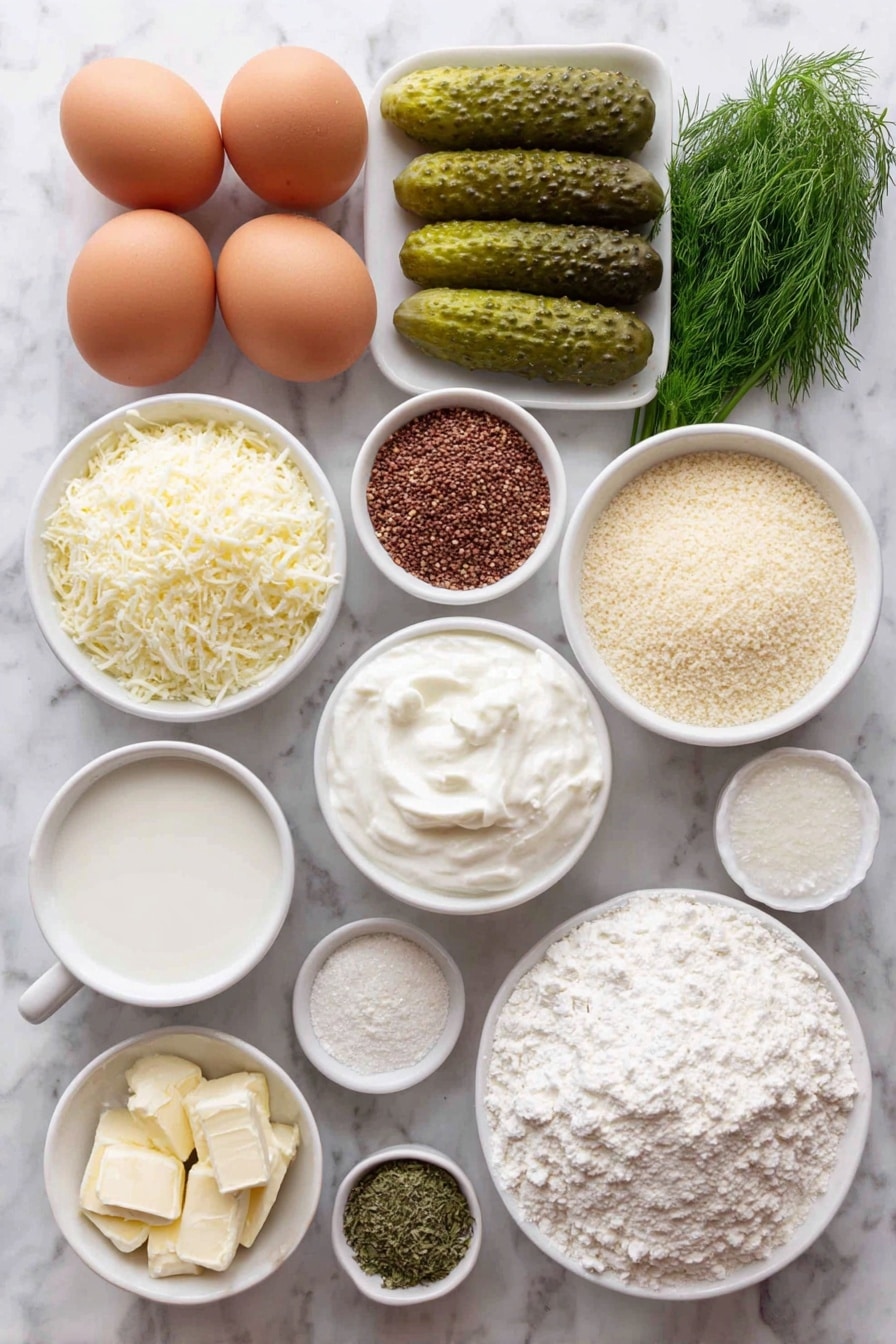
Ingredients You’ll Need
Each ingredient plays a key role to nail that perfect balance of crispiness and flavor. I always recommend using fresh dill when you can—it really wakes up the ranch dip and makes the whole dish sing.
- Fresh baby dill: Adds a bright, herby freshness to the ranch that’s simply unbeatable.
- Mayonnaise: Gives the ranch its creamy, rich base.
- Plain Greek yogurt: Adds creaminess with a bit of tang and a protein boost.
- Milk: Helps thin the ranch to the perfect dipping consistency.
- Buttermilk: The secret ingredient that gives classic ranch its signature tang and tenderness.
- White balsamic vinegar: Brightens and balances the ranch dressing flavors.
- Onion powder & garlic powder: These give the ranch a subtle savory depth.
- Ground white pepper: Adds a mild, peppery warmth without overpowering.
- Salt: Essential for seasoning everything just right.
- Dill pickle spears: Your star ingredient—choose crunchy pickles for the best texture.
- All-purpose flour: Helps the coating stick to the pickles.
- Eggs: Acts as the adhesive for the breading.
- Panko bread crumbs: Provides the extra crunch that makes these fries addictive.
- Stone-ground corn meal: Adds a crispy, slightly gritty texture that’s so satisfying.
- Plain bread crumbs: A lighter texture to round out the coating.
- Finely grated parmesan cheese: Gives a subtle savory kick to elevate the breading.
- Cayenne pepper: Adds just a touch of heat; adjust to your taste preference.
- Black pepper: Enhances the overall seasoning blend.
Variations
I love mixing it up with this recipe depending on my mood or what I have on hand, and you should feel free to do the same! Experimenting is part of the fun.
- Spice it up: When I want a little more heat, I add smoked paprika or extra cayenne for a smoky, spicy kick that pairs amazingly with the dill ranch.
- Gluten-free version: I swap out the plain bread crumbs and flour for gluten-free alternatives, and it still turns out beautifully crispy.
- Vegan tweaks: Use a mayo and yogurt substitute like those made from plants, and swap eggs with aquafaba or flax eggs to keep it egg-free.
- Ranch twists: Sometimes I stir in some chopped fresh chives or parsley into the ranch for extra brightness and herb complexity.
How to Make Crispy Baked Pickle Fries with Dill Ranch Recipe
Step 1: Prep the Dill Ranch Dressing
Start by finely chopping fresh dill—this herb is the star of the show in the ranch. In a bowl, whisk together the mayo, Greek yogurt, milk, buttermilk, and white balsamic vinegar. Add the chopped dill, onion powder, garlic powder, ground white pepper, and salt to taste. Give it a good stir, then cover and chill in the fridge while you prepare the fries. This chill time really helps the flavors meld and intensify.
Step 2: Get Your Pickles Ready
Drain your dill pickle spears really well, and if you want to avoid sogginess, pat them dry gently with paper towels. I’ve learned the hard way that excess moisture can ruin the crispiness we’re aiming for!
Step 3: Make the Coating Mixture
In one shallow bowl, put your flour. In another, beat the eggs. In a third bowl, mix the panko, cornmeal, plain bread crumbs, parmesan, cayenne, black pepper, and a pinch of salt. This triple setup makes the coating process smooth and efficient, so I always do this prep first.
Step 4: Coat the Pickles
Dip each pickle spear first into the flour, shaking off excess, then into the egg, and finally into the breadcrumb mix—pressing gently so the coating sticks well. Place them on a baking sheet lined with parchment or a silicone mat. Getting a good, even coating is key to the crunch you’ll love!
Step 5: Bake to Perfection
Preheat your oven to 425°F (220°C). Bake the pickle fries for about 20-25 minutes until golden and crispy, flipping them halfway through for even browning. I like using the convection setting if my oven has it, as it really crisps them up without drying them out.
Pro Tips for Making Crispy Baked Pickle Fries with Dill Ranch Recipe
- Dry Your Pickles Well: Patting the pickles dry before coating ensures the breading sticks and stays crispy while baking.
- Use a Mix of Breadcrumbs: Combining panko, cornmeal, and regular breadcrumbs makes the coating perfect — crunchy but not gritty.
- Flip Halfway Through: This simple step guarantees even baking and that both sides get beautifully golden.
- Serve Warm: Letting fries sit too long can lose crispiness, so enjoy fresh from the oven or reheat briefly in a toaster oven for best texture.
How to Serve Crispy Baked Pickle Fries with Dill Ranch Recipe
Garnishes
I like to garnish my pickle fries with a sprinkle of extra chopped fresh dill or a tiny dusting of parmesan cheese right after baking—just a little something to amp up the presentation and flavor. Sometimes, a squeeze of fresh lemon juice makes a surprisingly nice finishing touch too.
Side Dishes
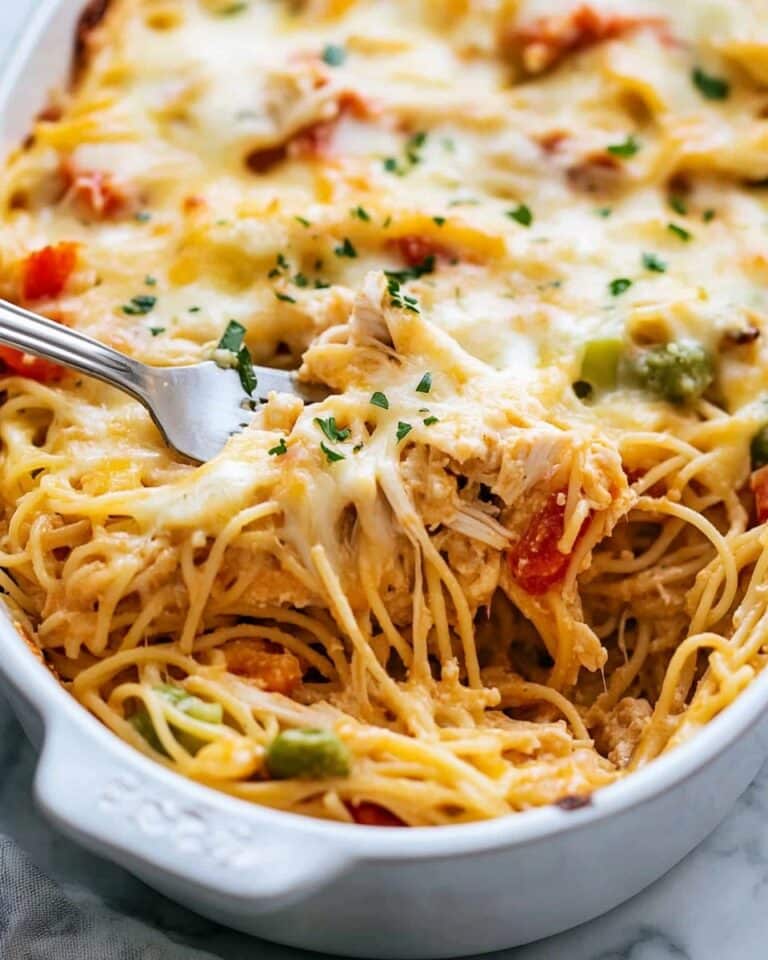
For a fun snack board, I love pairing these fries with other finger foods like crispy chicken tenders, carrot sticks, or a wedge of hearty sourdough bread. They’re also great alongside burgers or wraps—you really can’t go wrong with these crunchy delights!
Creative Ways to Present
For parties, I’ve served these in jars with toothpicks and little dipping cups of the dill ranch on the side—it’s super cute and makes it easy for guests to grab. You could even line a basket with checked paper for a nostalgic vibe that’s perfect for casual get-togethers.
Make Ahead and Storage
Storing Leftovers
Leftover pickle fries can be stored in an airtight container in the fridge for up to 2 days. I recommend layering them between paper towels to soak up any excess moisture and keep them from getting soggy.
Freezing
I’ve frozen these before—after baking, let them cool completely, then flash freeze on a tray before transferring to a freezer bag. When you want some, just pop them back in the oven to re-crisp. The texture isn’t quite as perfect as fresh, but still delicious and convenient.
Reheating
To reheat, I recommend using a toaster oven or conventional oven at 350°F for about 10 minutes, flipping halfway through. Microwave can make them soggy, so it’s best to avoid that if you want to keep their crispiness.
FAQs
-
Can I use other types of pickles for this recipe?
Yes! While dill pickle spears are traditional and give the best tang, you can experiment with bread-and-butter or spicy pickles for a different flavor profile. Just make sure they’re firm and well-drained to get that perfect crunch.
-
Is it necessary to bake instead of frying the pickle fries?
Baking keeps this recipe cleaner and healthier, but if you prefer deep frying, you can definitely do that for an extra crunchy bite. Just watch carefully to avoid over-frying, as pickles cook quickly.
-
How do I make the dill ranch dip ahead of time?
You can prepare the dill ranch dip up to 2 days in advance. Just keep it refrigerated in an airtight container, and give it a good stir before serving to refresh the flavors.
-
Can I make this recipe gluten-free?
Absolutely! Swap the regular flour and breadcrumbs with gluten-free versions, and opt for gluten-free panko or crushed gluten-free cereal for the coating. The results are just as crispy and delicious.
-
What’s the best way to keep the fries crispy after baking?
After baking, place the fries on a wire rack instead of directly on the baking sheet. This lets air circulate around the fries so they stay crisp instead of getting soggy from steam.
Final Thoughts
I can’t recommend this Crispy Baked Pickle Fries with Dill Ranch Recipe enough for anyone who loves that addictive crunch and tangy flavor without the guilt of frying. It’s become my go-to snack and a total crowd-pleaser whenever I have friends over. Give it a try—you’ll be amazed at how simple ingredients come together to create something so special and delicious. Happy snacking!
Print
Crispy Baked Pickle Fries with Dill Ranch Recipe
- Prep Time: 20 minutes
- Cook Time: 25 minutes
- Total Time: 45 minutes
- Yield: 8 servings (8-10 pickle fries per serving)
- Category: Appetizer
- Method: Baking
- Cuisine: American
Description
Crispy and flavorful baked pickle fries coated in a crunchy mix of panko and cornmeal, served with a creamy homemade dill ranch dressing that perfectly complements the tangy pickles. This recipe offers a healthier alternative to fried pickles, making it an irresistible party snack or appetizer.
Ingredients
Dill Ranch Dressing
- 1 tablespoon fresh baby dill
- 1/2 cup mayonnaise (120ml)
- 1/4 cup plain Greek yogurt (60ml)
- 1/4 cup milk (60ml)
- 1/4 cup buttermilk (60ml)
- 1 tablespoon white balsamic vinegar (15ml)
- 1/4 teaspoon onion powder (1.25ml)
- 1/4 teaspoon garlic powder (1.25ml)
- 1/8 teaspoon ground white pepper (0.63ml)
- Salt, to taste
Baked Pickle Fries
- 1 (24-ounce) jar dill pickle spears (680g)
- 1/2 cup all-purpose flour (60g)
- 2 large eggs
- 1/2 cup panko bread crumbs (60g)
- 1/2 cup stone-ground corn meal (60g)
- 1/4 cup plain bread crumbs (30g)
- 1 tablespoon finely grated parmesan cheese (15g)
- 1/2 teaspoon cayenne pepper (2.5ml) (adjust to taste)
- 1/4 teaspoon black pepper (1.25ml)
Instructions
- Prepare the Dill Ranch Dressing: In a bowl, combine mayonnaise, Greek yogurt, milk, buttermilk, white balsamic vinegar, fresh baby dill, onion powder, garlic powder, ground white pepper, and salt. Whisk until smooth and refrigerate to let the flavors meld while preparing the fries.
- Preheat the Oven: Set your oven to 425°F (220°C) to ensure it’s hot enough for crisping the pickle fries.
- Drain and Dry Pickles: Remove pickle spears from the jar and pat them thoroughly dry using paper towels to ensure the coating adheres properly.
- Set Up Breading Stations: In separate shallow dishes, place the all-purpose flour in one, beat the eggs in another, and in the last combine panko breadcrumbs, cornmeal, plain breadcrumbs, parmesan cheese, cayenne pepper, and black pepper.
- Coat the Pickle Spears: Dredge each pickle spear first in flour, shaking off excess, then dip into beaten eggs, and finally press into the breadcrumb mixture until evenly coated.
- Arrange for Baking: Place the coated pickle fries in a single layer on a baking sheet lined with parchment paper or a lightly greased wire rack over a sheet for better air circulation and crispiness.
- Bake Until Crispy: Bake in the preheated oven for 20-25 minutes, flipping halfway through, until they turn golden brown and crispy.
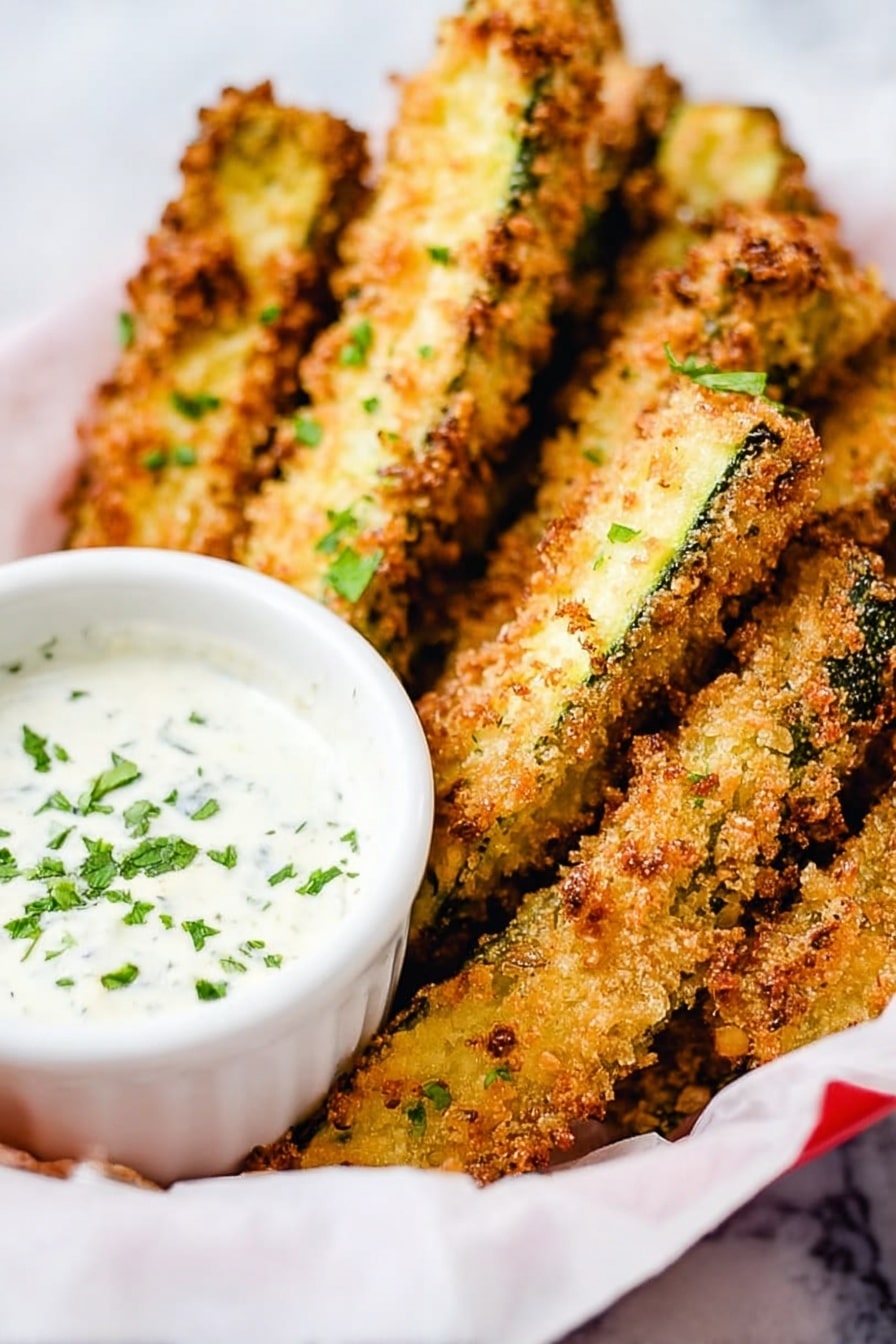
- Serve: Remove from the oven and let cool slightly before serving the baked pickle fries with the chilled homemade dill ranch for dipping.
Notes
- Crispy oven-fried pickles paired with a tangy dill buttermilk ranch are the ultimate party snack.
- For best results, ensure the pickles are thoroughly dried before breading to achieve maximum crispiness.
- You can adjust the cayenne pepper to your preferred spice level.
- Using a wire rack helps the fries crisp up on all sides; if you don’t have one, use parchment paper and flip fries halfway through baking.
Nutrition
- Serving Size: 150g
- Calories: 200
- Sugar: 3g
- Sodium: 800mg
- Fat: 15g
- Saturated Fat: 3g
- Unsaturated Fat: 12g
- Trans Fat: 0g
- Carbohydrates: 15g
- Fiber: 2g
- Protein: 4g
- Cholesterol: 50mg
