
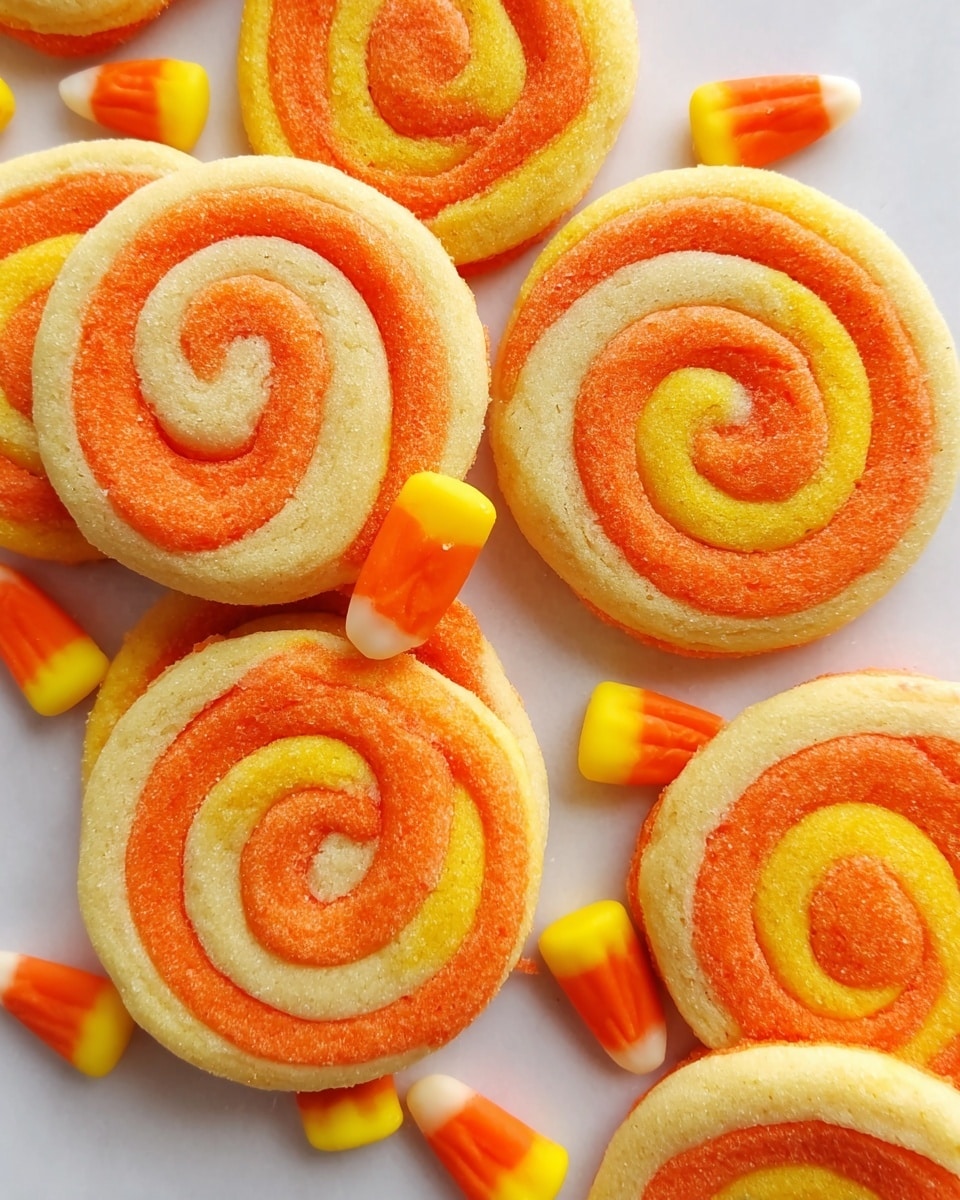
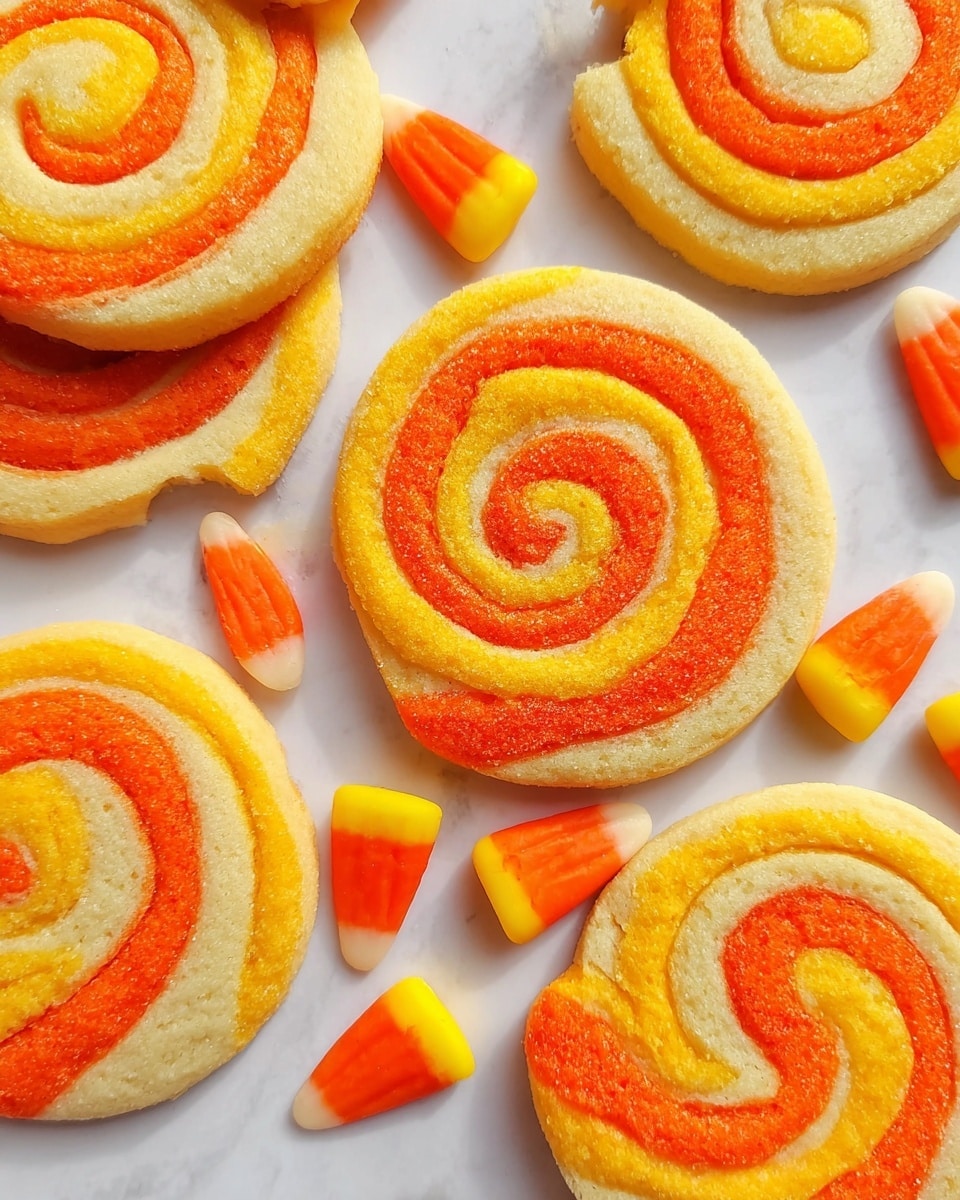
If you have a soft spot for festive, fun, and colorful treats, then you are in for a real delight with my Candy Corn Sugar Cookie Pinwheels Recipe. These cookies swirl together the perfect pop of candy corn hues with melt-in-your-mouth sugar cookie goodness. I absolutely love how these pinwheels come out every time—vibrant, buttery, and irresistibly whimsical. Whether you’re baking for a Halloween party or just craving something playful, this recipe will have your kitchen smelling amazing and your friends asking for seconds.
Why You’ll Love This Recipe
- Super Fun & Festive: The candy corn colors bring that perfect seasonal vibe, making these pinwheels a standout treat.
- Simple Yet Stunning: With just a few basic ingredients, you get cookies that look complicated but are surprisingly easy to make.
- Perfect Texture: Soft sugar cookies that hold their shape beautifully with a tender crumb every single time.
- Kid-Approved: My family goes crazy for these, and they’re a great project to bake together with kids.

Ingredients You’ll Need
These ingredients are familiar staples, making the Candy Corn Sugar Cookie Pinwheels Recipe super approachable. The magic is really in the food coloring layers and how you assemble the dough, so prepping your supplies beforehand will make the process easier.
- Vintage Betty Crocker Rolled Sugar Cookies Dough: This dough is buttery and holds up well when layered and rolled. Using a classic sugar cookie dough ensures a reliable flavor and texture.
- Orange Gel Food Coloring: Gel coloring works best here because it doesn’t add extra moisture like liquid food coloring might, keeping the dough firm.
- Yellow Gel Food Coloring: Use vibrant gel to get that bright candy corn hue. You can always adjust the drops for your preferred shade.
Variations
I love putting my own spin on this Candy Corn Sugar Cookie Pinwheels Recipe, and you might too. Once you’ve got the basics down, it’s fun to tinker with flavors and colors to make it your own.
- Flavor Boost: Adding a teaspoon of almond extract or a little lemon zest into the dough gives the cookies a subtle but delicious twist.
- Different Color Combos: I sometimes swap the usual orange and yellow for pastel shades for a springtime version—kids go nuts over this colorful surprise.
- Diet-Friendly Options: You can try a gluten-free sugar cookie dough batch if you’re baking for friends with dietary needs, just make sure it’s firm enough to roll and slice.
How to Make Candy Corn Sugar Cookie Pinwheels Recipe
Step 1: Divide and Color Your Dough
The trick here is in splitting your dough into three equal portions. I like using a kitchen scale to get it just right, but you can eyeball it too. Then, you’ll add about 4-6 drops of gel food coloring to one bowl for orange and the same for another bowl for yellow. Stir well! You can add more drops if needed to really get those signature candy corn hues. Leave the third portion uncolored for the classic white layer. Cover each and pop them in the fridge to chill for at least 30 minutes—this makes rolling much easier.
Step 2: Roll and Stack the Colored Layers
Once your dough is chilled and firm, preheat your oven to 400°F. Roll out the orange dough first into a thin layer, then carefully roll the yellow dough on top, and finally the uncolored white layer. I use parchment paper beneath the dough layers and a little light flour so nothing sticks. Stack the layers gently but firmly. This layering is what gives the pinwheels their iconic look, so take your time getting the layers even and flat.
Step 3: Roll into a Log and Slice
Starting on the long edge, roll the stacked layers into a tight log—like a jelly roll. If your dough feels a bit soft, pop it back in the fridge for 10-15 minutes to firm up, it helps to get a cleaner roll and neater slices. Then, slice the log into ½-inch thick pinwheels. Spread them two inches apart on a parchment-lined baking sheet so they can spread a little without touching.
Step 4: Bake and Cool
Bake at 400°F for about 10 minutes or until the edges just start to turn a light golden brown. I check at 9 minutes because ovens vary—overbaked edges can ruin the tender texture I love about these pinwheels. Let them cool for a couple of minutes on the pan before transferring to a cooling rack so they don’t break. This step is key—warm cookies are delicate but cool cookies hold together better and taste even better.
Pro Tips for Making Candy Corn Sugar Cookie Pinwheels Recipe
- Chill Chilling Chilling: Don’t rush chilling your dough at every step—it keeps those vibrant colors crisp and dough easier to handle.
- Gentle Rolling Technique: Roll your dough layers evenly but don’t press too hard to avoid blending the colors.
- Slice with a Sharp Knife: I use a serrated knife for clean, neat slices to maintain the swirl pattern.
- Watch Your Oven: Baking times vary—start watching at 9 minutes so your pinwheels are soft, not crispy.
How to Serve Candy Corn Sugar Cookie Pinwheels Recipe
Garnishes
I find a light dusting of powdered sugar adds a pretty finishing touch without overpowering the candy corn colors. Sometimes, I’ll drizzle a little white chocolate over the cool cookies to add some extra sweetness and flair—it’s surprisingly easy and looks great at parties.
Side Dishes
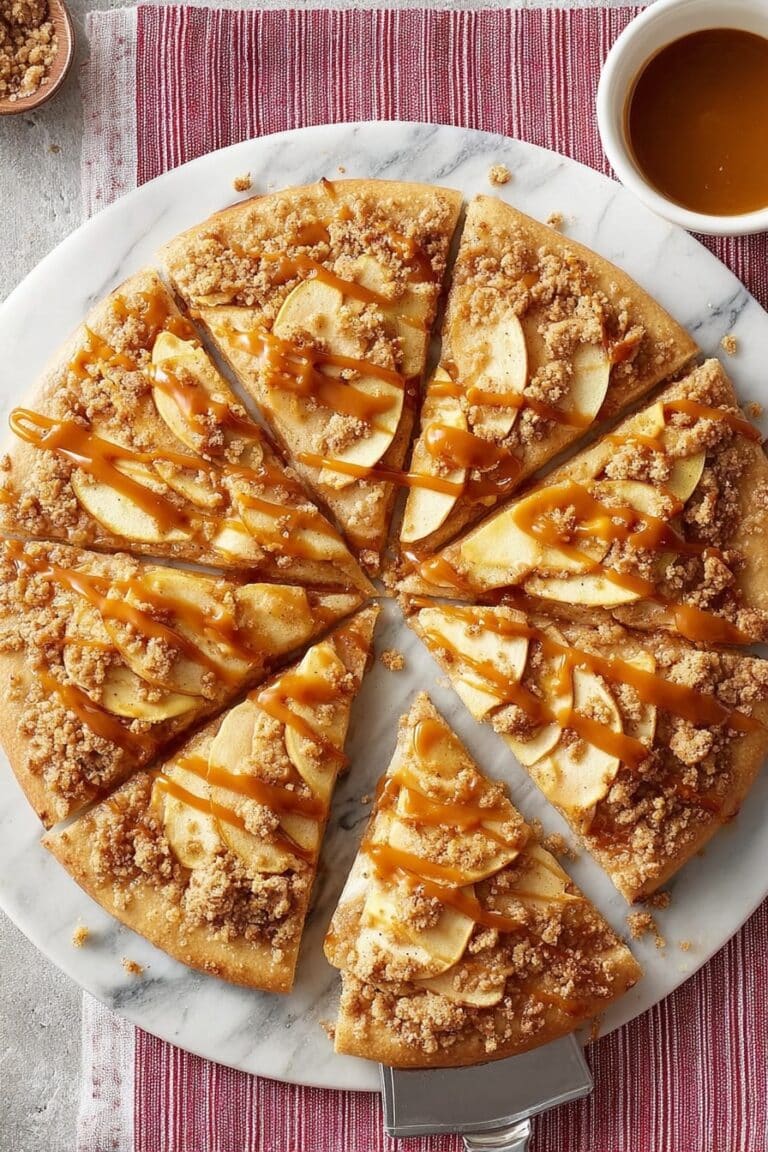
These sugar cookie pinwheels pair wonderfully with a simple hot chocolate or a glass of cold milk—the classics. For a festive spread, I like serving them alongside pumpkin spice cupcakes or a bright citrus fruit salad to balance the sweetness.
Creative Ways to Present
For Halloween, I arrange the pinwheels in tight clusters on a tiered cake stand for an eye-catching display. I’ve also packed them in clear cellophane bags tied with orange and yellow ribbons for cute little gifts. A sprinkle of edible glitter on top adds that magical touch for kids’ parties.
Make Ahead and Storage
Storing Leftovers
I store leftover pinwheels in an airtight container at room temperature, layered between parchment paper to keep them from sticking or breaking. They stay fresh and soft for about 3-4 days, perfect for sneaky second helpings.
Freezing
If you want to prep early, I recommend freezing the sliced pinwheels before baking—just lay them in a single layer on a tray, freeze until solid, then transfer to a freezer bag. When ready, bake directly from frozen, adding a minute or two to the baking time. This trick keeps that fresh-baked vibe whenever you need it.
Reheating
Reheat your leftover cookies in a 300°F oven for 5 minutes wrapped in foil to soften them up—microwaving can make sugar cookies tough really fast. This way, you get that fresh-out-of-the-oven softness back in a snap.
FAQs
-
Can I use any sugar cookie dough for the Candy Corn Sugar Cookie Pinwheels Recipe?
Absolutely! While I recommend the Vintage Betty Crocker Rolled Sugar Cookies dough for its perfect texture and flavor, any firm dough that rolls well and holds shape can work. Just avoid doughs that are too sticky or soft, which can make rolling and slicing tricky.
-
Why use gel food coloring instead of regular liquid coloring?
Gel food coloring is concentrated and doesn’t add extra liquid to the dough, which helps keep the consistency firm and easy to roll. Liquid coloring can make the dough too soft or sticky, risking that the layers blur or the dough becomes difficult to handle.
-
How thick should I roll each dough layer?
I roll each colored dough layer to about 1/8 inch thickness so that when stacked and rolled into the log, the swirls are distinct but the cookie is still tender. Too thick, and the pinwheels can look clumpy; too thin, and they might break when rolling.
-
Can I make these cookies ahead of time?
Definitely! You can make the dough and shape the log the day before, then chill it overnight. Slice and bake fresh on baking day for the best appearance and texture. Alternatively, freeze the slices as I mentioned earlier for super convenience.
Final Thoughts
This Candy Corn Sugar Cookie Pinwheels Recipe has become a fun tradition in my kitchen especially around the fall season. It’s simple enough to pull off on a busy day but impressive enough to wow guests or satisfy your sweet tooth. I hope you enjoy making and sharing these as much as my family and I do—they really do turn out as charming as they look. So grab your favorite music, get your colors ready, and dive into some cookie magic. Trust me, you’ll be glad you did!
Print
Candy Corn Sugar Cookie Pinwheels Recipe
- Prep Time: 15 minutes
- Cook Time: 10 minutes
- Total Time: 1 hour 25 minutes
- Yield: 24 cookies
- Category: Dessert
- Method: Baking
- Cuisine: American
Description
Candy Corn Sugar Cookie Pinwheels are festive, colorful treats perfect for autumn and Halloween celebrations. Made by layering and rolling vintage sugar cookie dough tinted in orange and yellow, these pinwheels are baked to golden perfection with a soft, buttery texture and delightful sweet flavor.
Ingredients
Sugar Cookie Dough
- 1 batch Vintage Betty Crocker Rolled Sugar Cookies dough (see recipe)
- Orange gel food coloring, 4-6 drops or as needed
- Yellow gel food coloring, 4-6 drops or as needed
Instructions
- Prepare and color dough: Divide sugar cookie dough into three equal portions. Place two portions into separate small bowls. Add 4-6 drops of orange gel food coloring to one bowl and yellow gel food coloring to the other; mix each thoroughly until color is uniform. Leave the third portion uncolored to serve as the white layer. Cover each bowl with plastic wrap and chill the dough in the refrigerator.
- Preheat oven and roll dough layers: Heat oven to 400°F (204°C). Remove chilled dough from refrigerator. On a lightly floured surface, roll out the orange dough first. Layer the rolled yellow dough on top of the orange, then add the uncolored white dough layer on top, stacking carefully.
- Form and slice pinwheels: Starting from one edge, roll the stacked layers tightly into a log-shaped cylinder. Using a sharp knife, slice the log into ½-inch thick pinwheel pieces.
- Bake the pinwheels: Place the pinwheel slices on a baking sheet lined with parchment paper, spacing them about 2 inches apart. Bake in preheated oven for 10 minutes or until the edges are lightly golden.
- Cool and serve: Remove the baking sheet from the oven and let the cookies cool on the sheet for 2-3 minutes. Then transfer the cookies to a wire rack to cool completely before serving.
Notes
- Adjust gel food coloring amounts gradually to achieve desired intensity without altering dough consistency.
- Chilling the dough before rolling helps maintain the shape during baking.
- Use parchment paper to prevent sticking and for easy cleanup.
- Slicing the rolled log into even ½-inch pieces ensures uniform baking.
- Allow cookies to cool fully for best texture and flavor.
Nutrition
- Serving Size: 1 cookie
- Calories: 190
- Sugar: 13g
- Sodium: 85mg
- Fat: 8g
- Saturated Fat: 4.5g
- Unsaturated Fat: 2g
- Trans Fat: 0g
- Carbohydrates: 27g
- Fiber: 0.5g
- Protein: 2g
- Cholesterol: 30mg


