

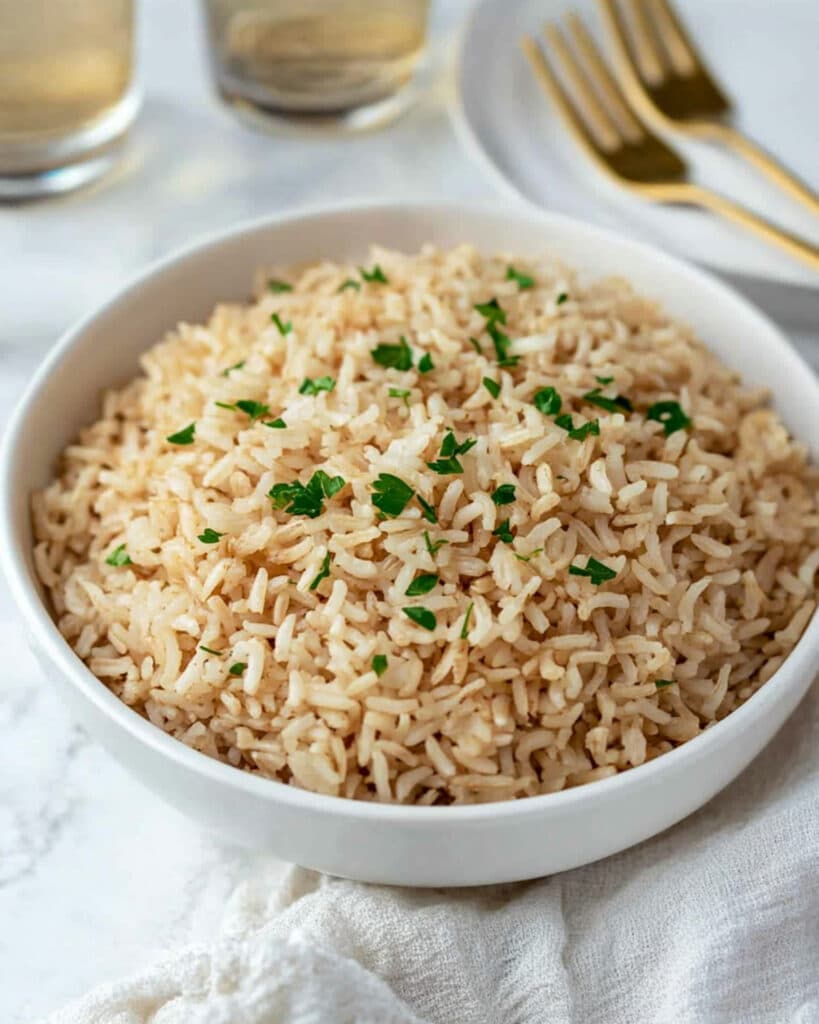
Transform your weeknight meals with this foolproof Big Batch Instant Pot Brown Rice recipe! Perfect for busy home cooks, this method delivers consistently fluffy, nutty brown rice with minimal effort. The Instant Pot works its magic to turn what’s typically a time-consuming grain into a hands-off kitchen staple you’ll make again and again. Master this technique once, and you’ll have the foundation for countless healthy meals throughout your week.
Why You’ll Love This Recipe
- Truly Hands-Off Cooking: Set it and forget it! Your Instant Pot does all the work while you tackle other tasks or simply relax.
- Perfect Texture Every Time: Say goodbye to mushy or undercooked brown rice. This method yields perfectly tender grains with just the right amount of chew.
- Meal Prep Marvel: Make a big batch once and enjoy nutritious brown rice all week long in various dishes.
- Healthier Option: Brown rice retains its bran and germ layers, providing more fiber, vitamins, and minerals than white rice.

Ingredients You’ll Need
- Brown Rice: The star of the show – delivers a nutty flavor and chewy texture while providing excellent nutritional benefits.
- Water: The precise amount ensures perfectly cooked rice. This ratio is crucial for success!
- Kosher Salt: Enhances the natural flavor of the rice without making it taste salty.
- Olive Oil: Prevents sticking and adds a subtle richness to the finished rice.
Note: You’ll find the complete list of ingredients, along with their exact measurements, in the printable recipe card at the bottom of this post.
Variations
Flavor Boosters
Enhance your brown rice by swapping the water for vegetable or chicken broth for a savory depth. Add a bay leaf, a cinnamon stick, or a few cardamom pods to the pot before cooking for aromatic intrigue. For herb-infused rice, stir in fresh herbs like parsley, cilantro, or chives after cooking.
Global Inspirations
Create coconut rice by replacing half the water with coconut milk and adding a pinch of sugar. For Mexican-style rice, add tomato paste, cumin, and oregano before cooking. Make garlic rice by sautéing minced garlic in the olive oil using the Instant Pot’s sauté function before adding the rice and water.
Grain Blends
Mix your brown rice with other grains like quinoa, wild rice, or farro for interesting textures and nutritional variety (just be sure all grains have similar cooking times).
How to Make Big Batch Instant Pot Brown Rice
Step 1: Combine Ingredients
In your Instant Pot insert, add the brown rice, water, kosher salt, and olive oil. Give everything a good stir to combine thoroughly and ensure the rice is evenly coated.
Step 2: Seal and Set
Secure the lid on your Instant Pot and twist until it locks. Make sure the Steam Release Valve is set to the “sealing” position. This creates the pressure environment needed for perfect rice.
Step 3: Pressure Cook
Set your Instant Pot to cook at High Pressure for 22 minutes. The pot will take some time to build pressure before the cooking timer begins.
Step 4: Natural Release
Once cooking completes, allow the pressure to release naturally for about 12 minutes. This gentle depressurization prevents the rice from becoming mushy or sticking to the pot.
Step 5: Manual Release
After the natural release period, carefully turn the Steam Release Valve to “venting” to release any remaining pressure. Wait until the float valve drops before opening the lid.
Step 6: Fluff and Rest
Remove the lid and fluff the rice gently with a fork. Place a clean kitchen towel over the pot and close the lid (without locking it) for an additional 5-10 minutes. The towel absorbs excess moisture, resulting in perfectly fluffy rice.
Step 7: Final Fluff and Serve
Give the rice one final fluff with a fork before serving or storing for later use.
Pro Tips for Making the Recipe
- Rinse Optional: Unlike white rice, brown rice doesn’t require rinsing, though you can rinse it once to remove excess starch if desired.
- Precise Measurements: Use exact measurements for both rice and water—brown rice needs this specific ratio for perfect results.
- The Towel Trick: Don’t skip the kitchen towel step! It makes a noticeable difference in the texture of your finished rice.
- Patience Pays Off: Allow the full natural release time—rushing this step can result in undercooked rice at the bottom of the pot.
- Scale With Confidence: When halving the recipe, keep the cooking time the same, as the pressure cooking duration remains constant regardless of quantity.
How to Serve
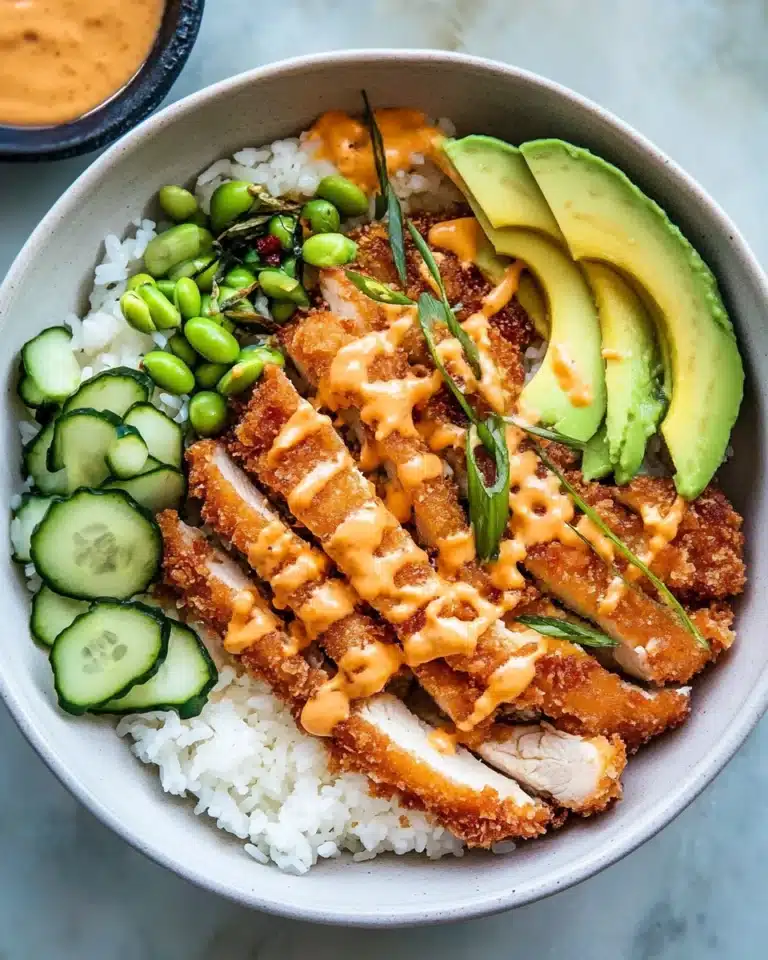
Brown rice serves as a versatile canvas for countless meal options, making it worth keeping on hand at all times. For quick weeknight dinners, use it as a base for vibrant grain bowls topped with roasted vegetables, grilled protein, and a drizzle of sauce—try combinations like roasted sweet potatoes with black beans and avocado, or teriyaki chicken with steamed broccoli.
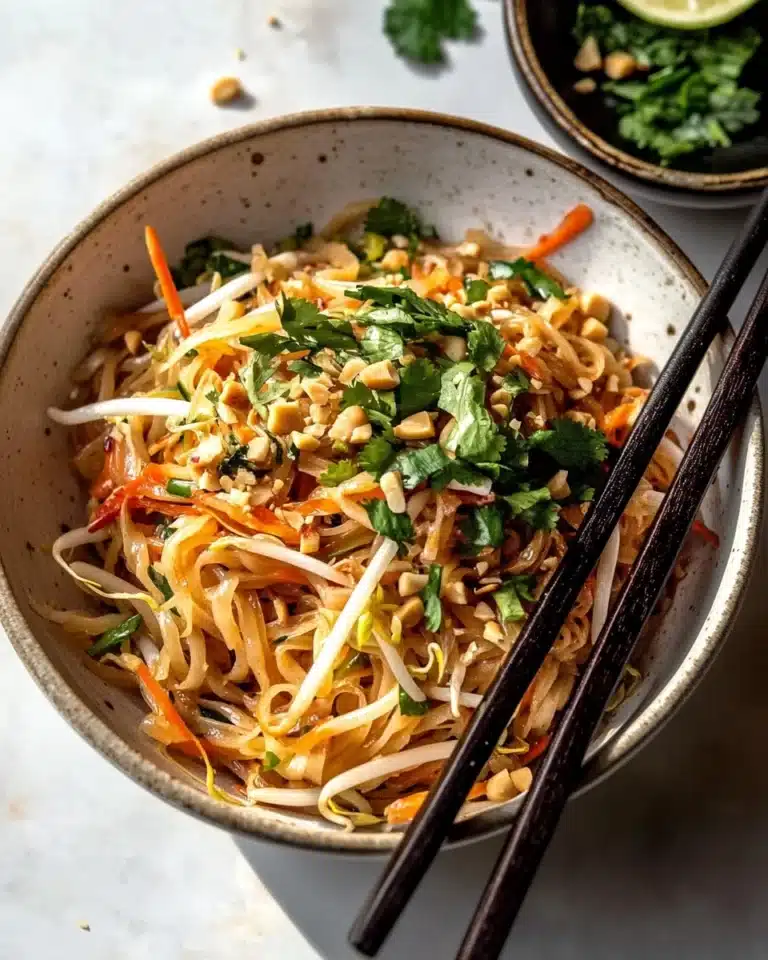
For family-style meals, serve your brown rice alongside curries, stews, or stir-fries where its nutty flavor and hearty texture perfectly complement rich sauces. The rice soaks up savory juices while adding satisfying bulk to the meal. Try it with butter chicken, vegetable curry, or a simple weeknight stir-fry.
Transform leftover rice into complete one-dish meals by incorporating it into fried rice with scrambled eggs, frozen vegetables, and soy sauce for a quick lunch. For more substantial offerings, use your rice to stuff vegetables—hollowed bell peppers, zucchini boats, or acorn squash halves filled with a mixture of brown rice, ground meat, and seasonings make impressive yet simple dinners.
For lighter fare, brown rice makes an excellent addition to salads, providing sustenance and staying power. Toss cold rice with diced vegetables, feta cheese, herbs, and lemon vinaigrette for a Mediterranean-inspired lunch that won’t leave you hungry an hour later.
Make Ahead and Storage
Storing Leftovers
Cooked brown rice stores beautifully in airtight containers in the refrigerator for up to 5 days, making it perfect for meal prep. For optimal freshness, cool the rice completely before transferring it to storage containers—spreading it on a baking sheet helps it cool faster and prevents clumping. Portion into meal-sized containers to streamline your weekday cooking. If you notice the rice has dried out slightly when reheating, simply sprinkle a little water over the top before warming.
Freezing
Brown rice freezes exceptionally well for up to 3 months, extending its usefulness even further. Portion completely cooled rice into freezer-safe containers or bags, pressing out as much air as possible. For individual portions that allow you to take only what you need, freeze rice in flattened ziplock bags or silicone molds. Label each container with the date to keep track of freshness. When properly stored, frozen brown rice maintains its texture and nutty flavor remarkably well.
Reheating
To revive refrigerated rice, microwave it with a sprinkle of water and covered with a damp paper towel for 1-2 minutes, stirring halfway through. For frozen rice, you can microwave it directly from frozen by adding a tablespoon of water, covering, and heating for 2-3 minutes, stirring occasionally. For larger quantities, reheat in a saucepan with a splash of water or broth over medium-low heat, stirring frequently until warmed through. The stovetop method works particularly well when you’re preparing to transform your leftover rice into fried rice or another dish.
FAQs
How do I prevent my brown rice from sticking to the bottom of the Instant Pot?
The olive oil in this recipe helps prevent sticking, but ensuring you have the correct rice-to-water ratio is most important. Never skip the natural pressure release step, as this allows the rice to finish absorbing liquid gradually. If you continue to have issues, you might try using the pot-in-pot method by placing your ingredients in a separate oven-safe bowl on the trivet inside your Instant Pot.
Can I use this method for other types of rice?
This specific timing works perfectly for regular brown rice. For white rice, reduce the cooking time to 3-4 minutes with natural release. Wild rice or brown rice blends may require adjustment—generally, use the cooking time needed for the grain that takes longest. Instant rice is not recommended for pressure cooking as it would become mushy.
My rice turned out too firm/too soft. What went wrong?
Rice texture preferences vary widely. If your rice was too firm, try increasing water by ¼ cup next time or extending the cooking time by 1-2 minutes. If it was too soft, reduce the water slightly or decrease cooking time. Altitude can also affect cooking—at higher elevations, you may need to increase cooking time by about 5% per 1,000 feet above sea level.
Is brown rice really healthier than white rice?
Brown rice retains its bran and germ layers, which contain fiber, vitamins, minerals, and antioxidants that are removed during the processing of white rice. It provides more manganese, magnesium, selenium and fiber than white rice, giving it a lower glycemic index that causes less dramatic blood sugar spikes. While white rice has its place in certain dishes and cuisines, brown rice generally offers more nutritional benefits for everyday meals.
Conclusion
This Big Batch Instant Pot Brown Rice recipe revolutionizes how you approach meal planning. In less than 30 minutes of mostly hands-off time, you’ll have perfectly cooked, nutritious brown rice ready to enhance your meals all week long. The nutty, chewy grains provide the perfect foundation for countless healthy dishes, from simple sides to elaborate main courses. Give this method a try—I’m confident it will become your go-to technique for consistently perfect brown rice that makes healthy eating both delicious and convenient!
Print
Big Batch Instant Pot Brown Rice Recipe
- Prep Time: 5 minutes
- Cook Time: 22 minutes
- Total Time: 39 minutes
- Yield: 8 servings
- Category: Side-dishes
- Method: Instant Pot
- Cuisine: American
- Diet: Gluten Free
Description
Perfect, fluffy brown rice made effortlessly in your Instant Pot! This simple yet versatile method produces consistently delicious brown rice with minimal hands-on time. Each grain cooks up separate and tender, creating an ideal base for countless meals or a satisfying side dish that pairs with virtually any cuisine.
Ingredients
- 2 cups brown rice
- 2 1/2 cups water
- 1 tsp. kosher salt
- 2 tsp. olive oil
Instructions
- Combine Ingredients: In the insert of your Instant Pot, stir together rice, water, salt, and olive oil until well mixed. This ensures even distribution of salt and oil for properly seasoned, non-sticky rice.
- Seal the Pot: Place top on Instant Pot; twist to seal and lock. Turn Steam Release Valve to “sealing” position. Double-check that the seal is secure to prevent steam from escaping during cooking.
- Set Cooking Time: Set Instant Pot to cook at High Pressure for 22 minutes. This is the optimal time for brown rice to become perfectly tender while maintaining its nutritious qualities and pleasant chewy texture.
- Natural Release: After cooking is complete, let pressure release naturally for approximately 12 minutes. This gradual pressure decline helps the rice finish cooking properly without becoming mushy.
- Manual Release: After the natural release period, manually release any remaining pressure by turning the Steam Release Valve to “venting” position. Wait until all steam has escaped before opening.
- Initial Fluff: Remove lid and fluff rice with a fork to separate the grains and release excess moisture.
- Final Steam: Place a clean kitchen towel over insert, and close lid (without locking). Let rice steam an additional 5 to 10 minutes. The towel will absorb excess moisture for perfectly fluffy rice.
- Serve: Fluff rice once more with a fork, and serve hot with your favorite main dish.
Notes
- This recipe scales down easily; to make 4 servings, simply cut the recipe in half.
- For a richer flavor, substitute low-sodium chicken broth for the water.
- Measure the liquid carefully; too much water can make the finished rice gummy.
- Stir in a handful of chopped soft fresh herbs, such as parsley, dill, basil, or chives at the end of cooking for extra flavor.
- Use leftover rice to stuff bell peppers or to make fried rice.
- Brown rice stays fresh in the refrigerator for up to 5 days in an airtight container.
- You can freeze cooked brown rice for up to 3 months in freezer-safe containers.
- Different varieties of brown rice (short-grain, long-grain, etc.) may require slight adjustments to water ratio.
Nutrition
- Serving Size: ½ cup cooked
- Calories: 108
- Sugar: 0g
- Sodium: 149mg
- Fat: 2g
- Saturated Fat: 0g
- Unsaturated Fat: 2g
- Trans Fat: 0g
- Carbohydrates: 22g
- Fiber: 2g
- Protein: 3g
- Cholesterol: 0mg


