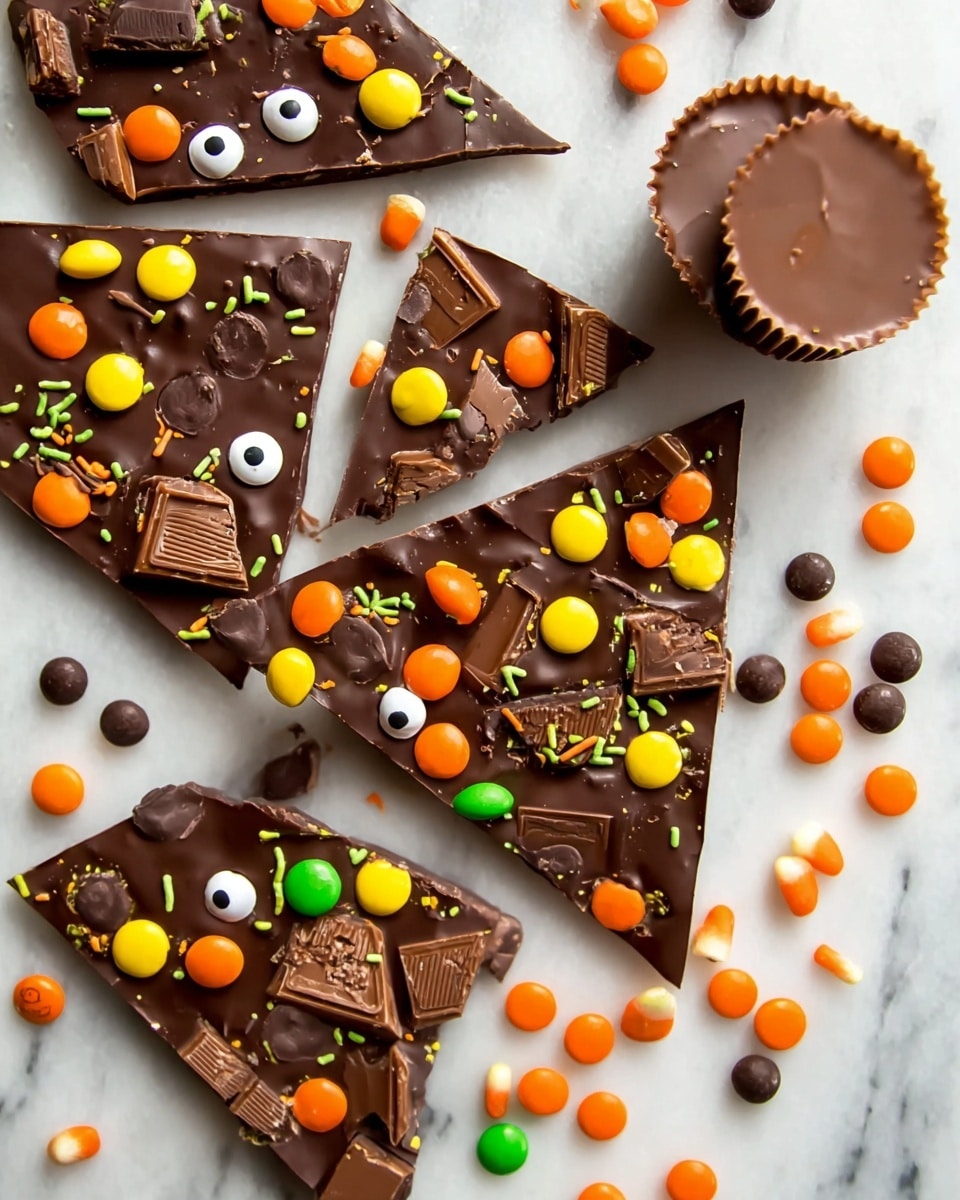
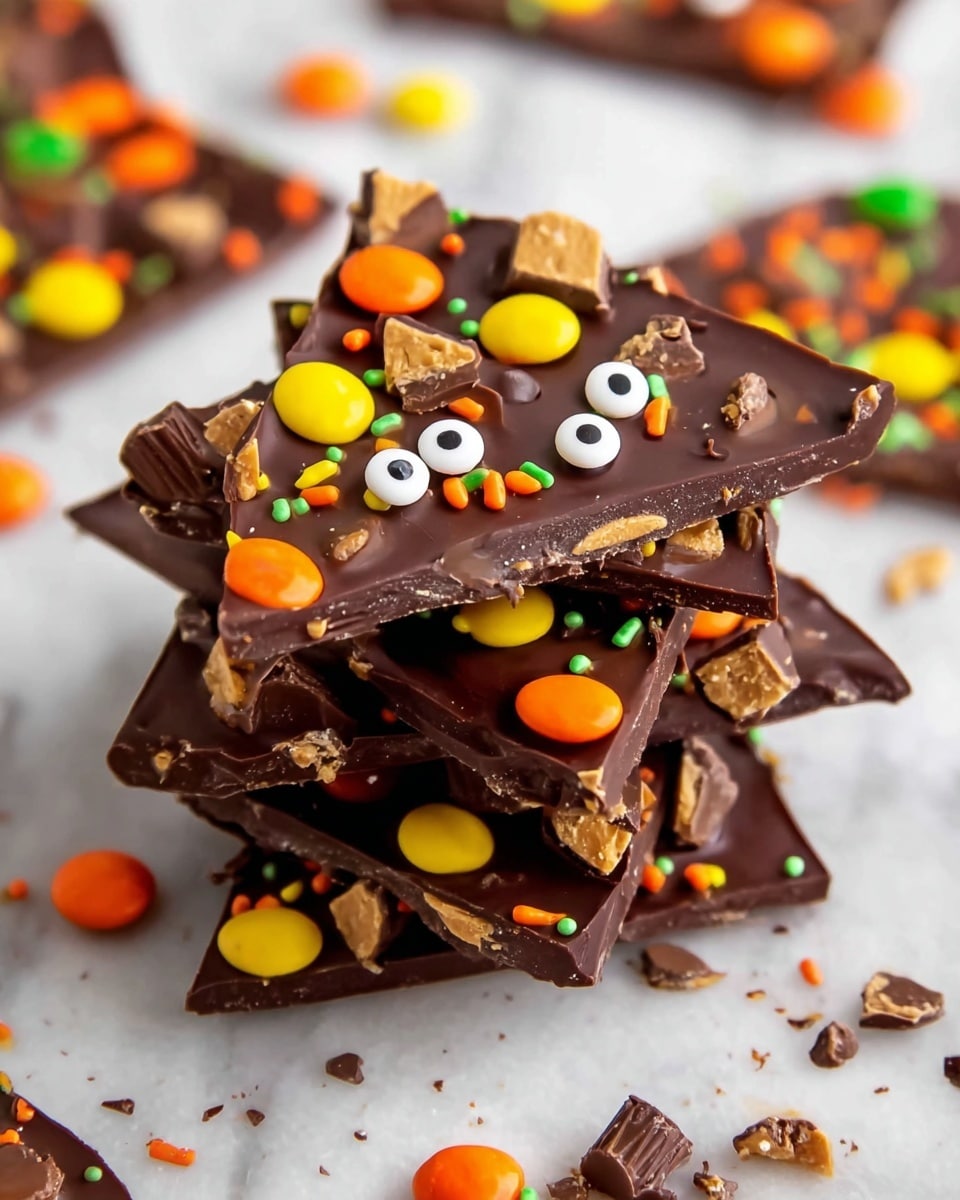
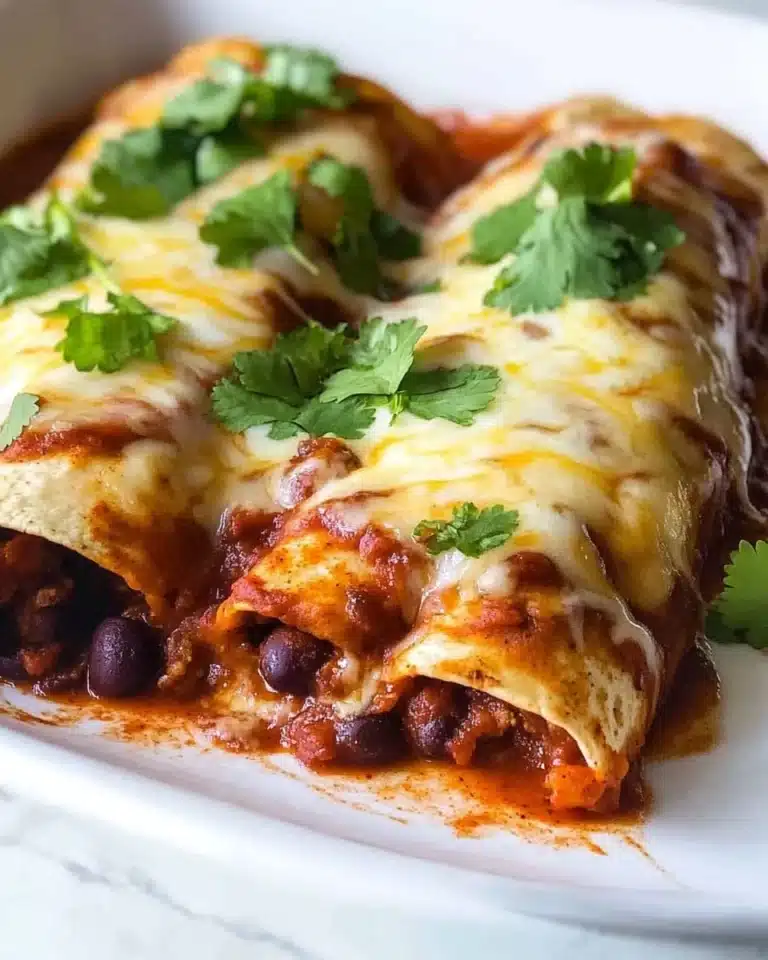
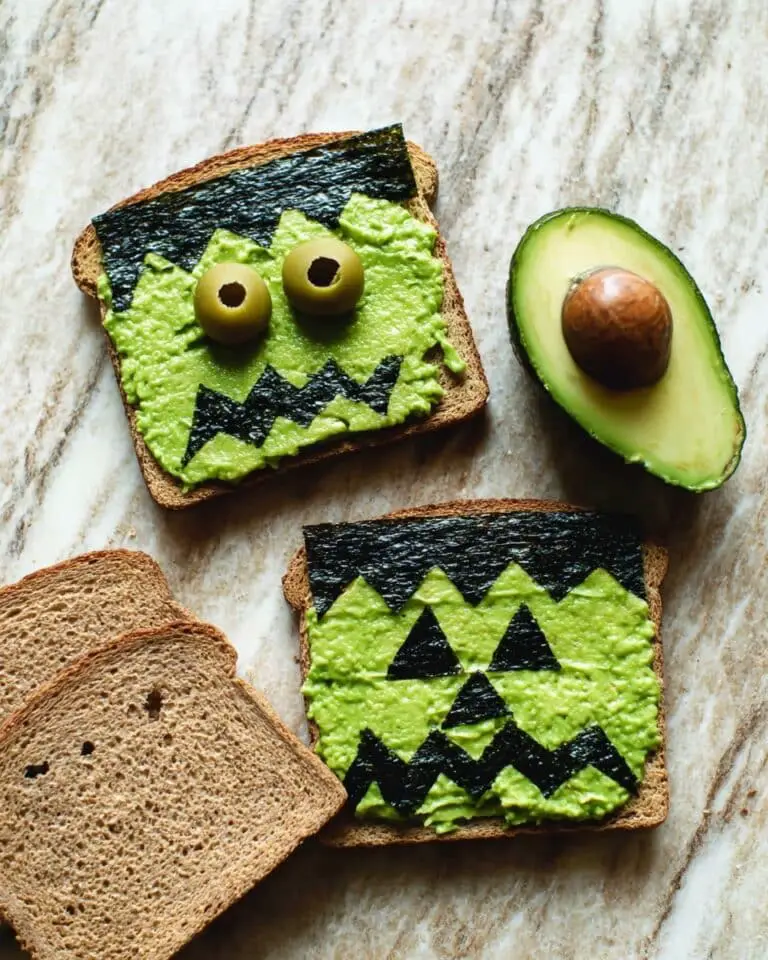
If you’re looking for a quick, festive treat that’ll wow your friends and family this spooky season, you’ve got to try this Halloween Candy Bark Recipe. It’s super easy to make, endlessly customizable, and the perfect way to use up all that leftover Halloween candy. Trust me, once you try it, you’ll be hooked just like I am!
Why You’ll Love This Recipe
- Super Easy to Make: You don’t need fancy equipment or baking skills—just melt, sprinkle, and chill!
- Customizable Candy Mix: Use whatever Halloween candies and sprinkles you love or already have on hand.
- Perfect for Parties and Gifts: It’s festive, fun, and everyone goes crazy for the flavors and textures.
- Lasts for Weeks: Store it right, and you’ll have a sweet treat ready whenever you want.
Ingredients You’ll Need
Each ingredient has its own role in this Halloween Candy Bark Recipe. I like to mix bitterweet chocolate with festive candies that bring fun color, crunch, and flavor. Here’s what I usually reach for at the store or grab from my candy stash.
- Bitterweet Chocolate Chips: The rich, slightly chocolatey base that sets the tone—you can swap with semisweet or milk chocolate.
- Kit Kats: Adds crunch and a creamy texture—breaking them into pieces works best so each bite has a bit of wafer.
- Reese’s Peanut Butter Cups: I use minis or cut full-size cups; the peanut butter-chocolate combo is irresistible.
- Reese’s Pieces: These bring a pop of color and a little crunch, plus a peanut butter punch.
- Candy Eyes: Fun, spooky decoration that makes your bark look playful and perfect for Halloween.
- Halloween Sprinkles: Adds that festive vibe and a little extra texture.
Variations
One of the things I love most about this Halloween Candy Bark Recipe is how flexible it is! Feel free to play around with the candy combinations, chocolate types, and even add-ins to suit your tastes or dietary needs.
- Peanut-Free Version: When my niece came over allergic to nuts, I swapped peanut candies for allergy-friendly options like pretzels or gummy worms—still a hit!
- White Chocolate Twist: I sometimes melt white chocolate instead of dark for a sweeter, creamier base, which pairs beautifully with colorful toppings.
- Spicy Kick: For a fun surprise, I sprinkle a touch of cayenne or cinnamon over the chocolate before chilling—it’s unexpectedly delightful.
- Extra Crunch: Adding mini pretzels or crushed cookies gives a salty, crunchy contrast that balances the sweetness.
How to Make Halloween Candy Bark Recipe
Step 1: Prep Your Workspace and Candy
First things first, line a standard cookie sheet with parchment paper—that way, your candy bark won’t stick, and cleanup is a breeze. While that’s set, chop your Kit Kats and Reese’s Peanut Butter Cups into bite-sized pieces. I find this keeps every chunk perfectly balanced in each bark piece.
Step 2: Melt the Chocolate
Place the bittersweet chocolate chips in a microwave-safe bowl. I like to melt mine at 50% power for one minute, then stir. After that, keep microwaving in 20-second bursts, stirring each time, until the chocolate is silky smooth and completely melted. Patience here is your friend—stirring well helps avoid hot spots and burning.
Step 3: Spread and Decorate
Pour the melted chocolate onto your prepared baking sheet. Use an offset spatula or back of a spoon to spread it out evenly to about a quarter-inch thickness. This is where you get creative: sprinkle your chopped candy bars, Reese’s Pieces, candy eyes, and Halloween sprinkles evenly over the top. I love pressing them gently into the chocolate so they stick really well once chilled.
Step 4: Chill Until Set
Pop the whole tray into the fridge for about 45 minutes, or until the chocolate is firm and the candies are set. This step is crucial because you want the bark to harden properly so that it breaks into perfect shards—irregular shapes are what make it extra fun.
Step 5: Break and Serve
Once chilled, lift the parchment paper from the pan and carefully break the bark into irregular pieces using your hands. I like to mix up the sizes so there’s a piece for everyone—from little nibbles to big chunks. Serve immediately and watch how fast this disappears!
Pro Tips for Making Halloween Candy Bark Recipe
- Use Quality Chocolate: I’ve found that using good-quality chocolate really makes the bark taste richer and ensures a smooth melt.
- Avoid Overheating Chocolate: Only microwave in short bursts and stir often to prevent burning or seizing.
- Press Toppings Gently: Press candies into the warm chocolate so they don’t fall off after it hardens.
- Store Properly: Keep the bark in an airtight container in the fridge to maintain crunch and prevent melting.
How to Serve Halloween Candy Bark Recipe

Garnishes
I like to add a sprinkle of edible glitter or extra Halloween-themed sprinkles over the top right before chilling—it gives the bark a little magical sparkle that’s perfect for parties. If you’re serving at a family gathering, candy eyes always get smiles!
Side Dishes
This candy bark pairs amazingly well with a warm cup of apple cider or a creamy pumpkin spice latte. I’ve also served it alongside homemade popcorn for a fun mix of sweet and salty treats at my Halloween party.
Creative Ways to Present
One year, I made small bark pieces and placed them in clear cellophane bags tied with orange and black ribbon for adorable party favors. Another time, I arranged the bark shards artistically on a large wooden board with mini bowls of candy eyes and sprinkles for a festive DIY candy station.
Make Ahead and Storage
Storing Leftovers
I store leftover Halloween candy bark in an airtight container in the refrigerator. This keeps the chocolate perfectly firm and the candies fresh while preventing sticky messes. It usually stays great for up to two weeks—if it lasts that long!
Freezing
For longer storage, I wrap the bark tightly in plastic wrap and place it in a freezer-safe container or bag. Freezing for up to one month works well, but be sure to thaw it gradually in the fridge to avoid condensation which can dull the chocolate’s shine.
Reheating
Since this bark is best served cold or at room temperature, I don’t recommend reheating. However, if you want slightly softer pieces, leave them out at room temp for about 15-20 minutes before serving—perfect for enjoying the flavors fully.
FAQs
-
Can I use other types of chocolate for this bark?
Absolutely! While I use bittersweet chocolate for a rich flavor, semisweet, milk, or even white chocolate works well. Just keep in mind that sweeter chocolates might offset the candy’s sweetness, so adjust your toppings accordingly.
-
How long does Halloween Candy Bark keep fresh?
Stored in an airtight container in the fridge, it stays fresh for up to two weeks. For longer storage, freezing up to one month works great if wrapped properly to avoid freezer burn.
-
Can I make this candy bark nut-free?
Definitely! Replace any nut-containing candies with safe alternatives like pretzels, gummy candies, or marshmallows. Just be sure to check all candy labels for hidden nuts if allergies are a concern.
-
What is the best way to break the bark?
Once the bark has fully set, lift the parchment off the tray and break it into pieces by hand. Aim for irregular-sized shards—it gives the bark that homemade, rustic charm and makes it more fun to eat.
Final Thoughts
I genuinely recommend giving this Halloween Candy Bark Recipe a try this year. It’s one of those fun, no-fuss treats that’s perfect for last-minute parties, gifts, or just satisfying your sweet tooth with a festive flair. I love how the mix of crunchy, creamy, and colorful candies come together for a perfect bite every time. Once you make it, feel free to play around with your favorite candies—you’ll find it’s a delightfully addictive Halloween tradition in the making!
Print
Halloween Candy Bark Recipe
- Prep Time: 10 minutes
- Cook Time: 5 minutes
- Total Time: 50 minutes
- Yield: 15 servings
- Category: Dessert
- Method: No-Cook
- Cuisine: American
Description
This festive Halloween Candy Bark combines rich bittersweet chocolate with an assortment of fun and colorful Halloween candies for a deliciously spooky treat. Easy to make with simple melting and chilling steps, it’s perfect for parties, trick-or-treaters, or gifting.
Ingredients
Chocolate Base
- 3 cups (525 g) Bittersweet Chocolate Chips
Halloween Candy Toppings
- 2 Kit Kats (two regular bars, 8 pieces), cut up
- Reese’s Peanut Butter Cups (10 minis or 4 full size cups), cut up
- ¼ cup Reese’s Pieces
- Candy eyes
- 2 Tablespoons Halloween sprinkles
Instructions
- Prepare the Baking Sheet: Line a standard cookie sheet with parchment paper to prevent sticking and to make cleanup easier. Set aside.
- Melt the Chocolate: In a microwave-safe bowl, melt the bittersweet chocolate chips by heating for 1 minute at 50% power. Stir well, then continue microwaving in 20-second intervals, stirring after each, until the chocolate is completely smooth and melted.
- Spread the Chocolate: Pour the melted chocolate onto the prepared baking sheet. Use a spatula to spread it evenly until about 1/4-inch thick, ensuring a uniform layer for the bark.
- Add Toppings: Immediately sprinkle the chopped Kit Kats, Reese’s Peanut Butter Cups, Reese’s Pieces, candy eyes, and Halloween sprinkles evenly over the chocolate layer to decorate and add texture.
- Chill to Set: Place the baking sheet in the refrigerator and chill for about 45 minutes, or until the chocolate has hardened completely and the candy toppings are firmly set.
- Break Into Pieces: Once firm, break or cut the bark into irregular shapes for serving.
- Serve and Store: Serve immediately or store leftovers in an airtight container in the refrigerator for up to 2 weeks. For longer storage, freeze wrapped tightly in plastic wrap for up to 1 month to prevent freezer burn.
Notes
- Chocolate Variation: Semisweet, milk, or dark chocolate can be used instead of bittersweet for different flavor profiles.
- Custom Toppings: Feel free to use your favorite candies, nuts, pretzels, or mini marshmallows as toppings.
- Storage Tips: Keep in an airtight container in the fridge for freshness. Freeze wrapped well to extend shelf life up to one month.
- Serving Suggestion: Great for parties, gift bags, or as a festive homemade gift.
Nutrition
- Serving Size: 1 piece (around 40g)
- Calories: 240
- Sugar: 17g
- Sodium: 61mg
- Fat: 14g
- Saturated Fat: 12g
- Unsaturated Fat: 2g
- Trans Fat: 0g
- Carbohydrates: 26g
- Fiber: 2g
- Protein: 4g
- Cholesterol: 1mg

